|
|
|
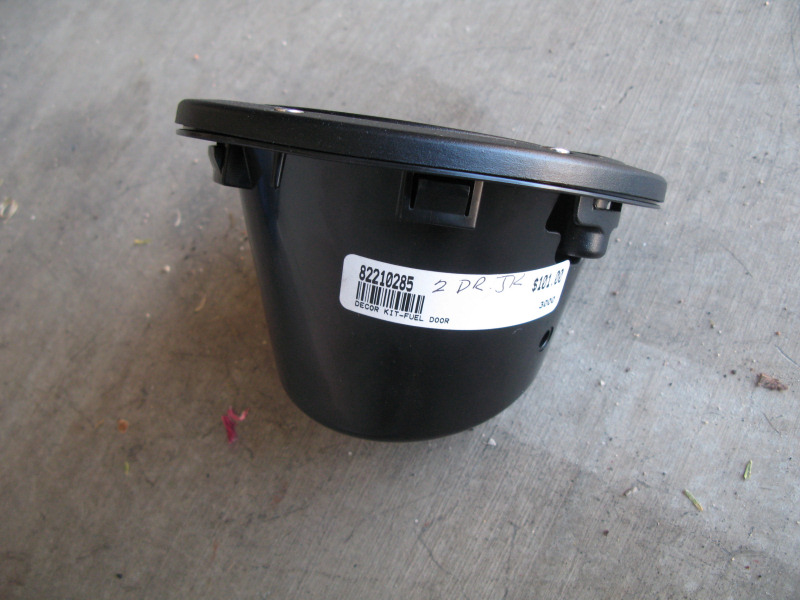
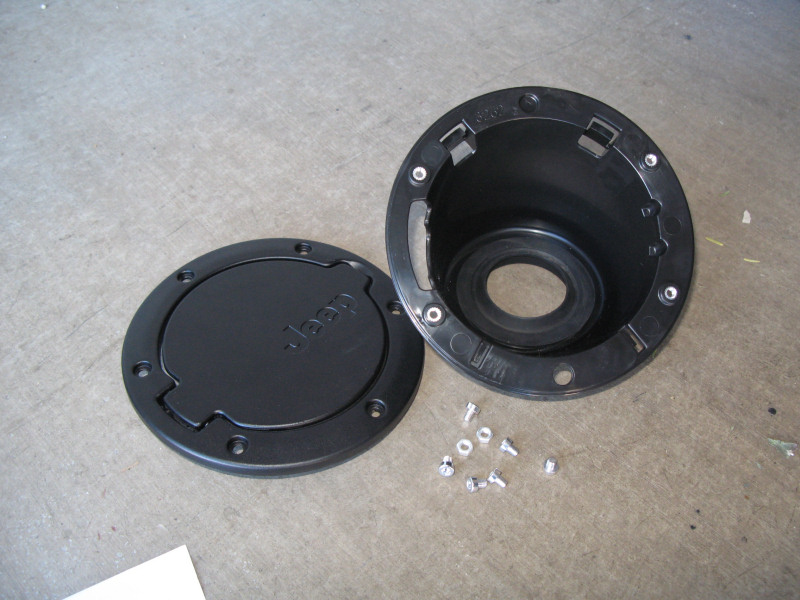
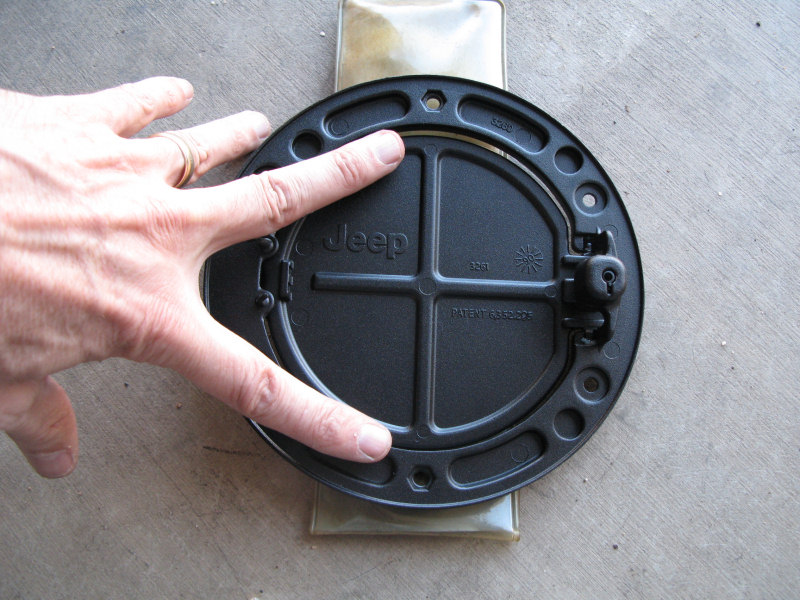
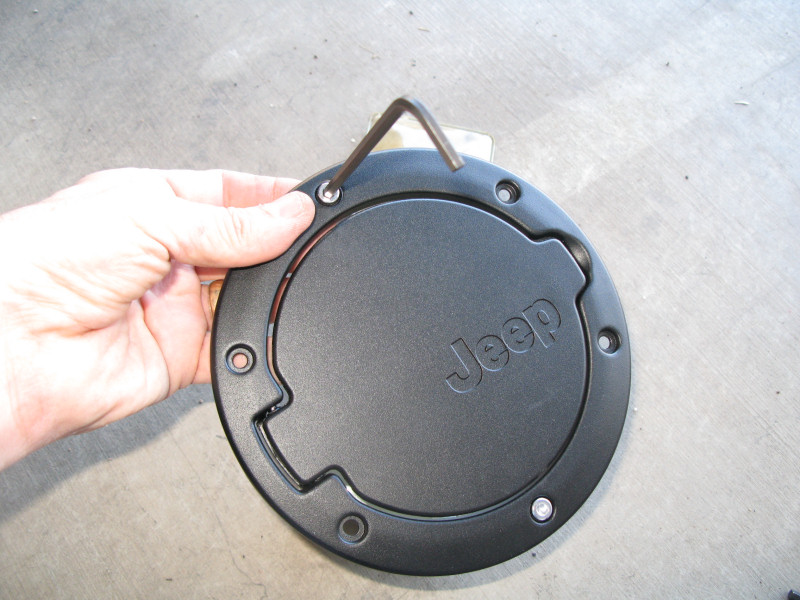
The Mod:Addition of a metal MOPAR fuel filler door and locking gas cap. What it does:The stock 2008 Jeep Wrangler does not have a filler door and the gas cap is not locked. This mod adds a filler door to hide and protect the gas cap, and locking gas cap to help keep honest people honest. MOPAR sells two kinds of locking gas caps, this gas cap use the same key as the ignition key. Installation took about 1 hour. Photos:Side view of the filler door before installation:
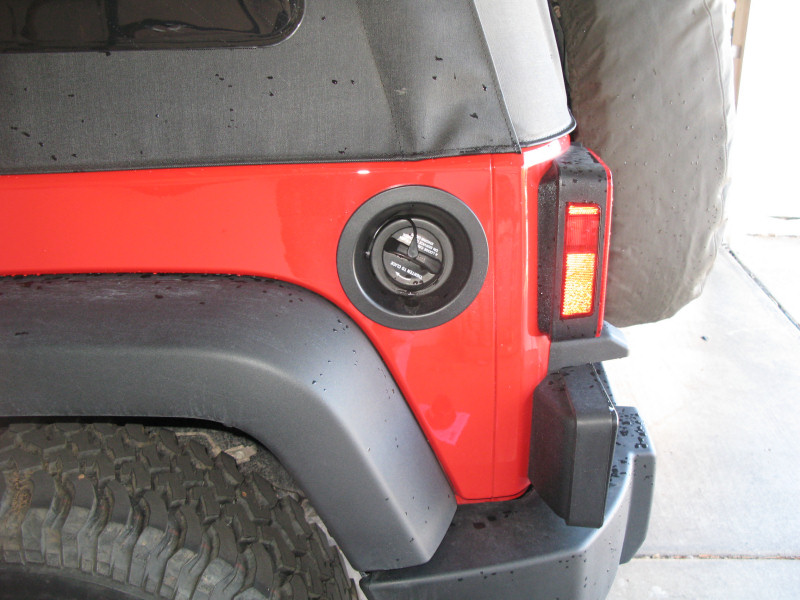
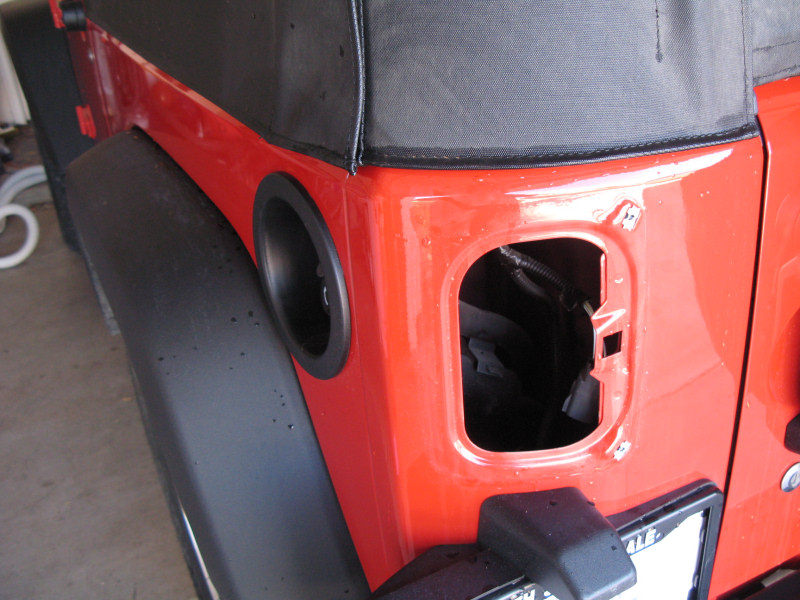
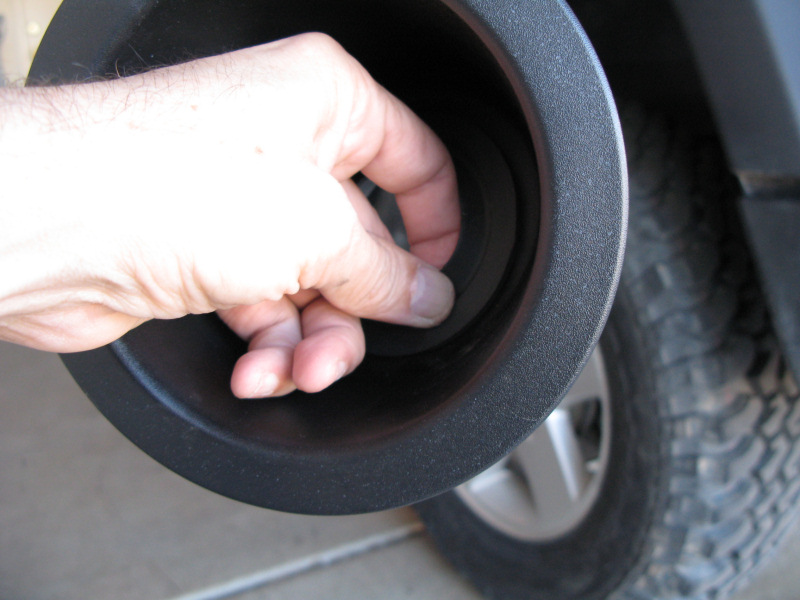
Here’s a shot of stock gas cap/filler area:
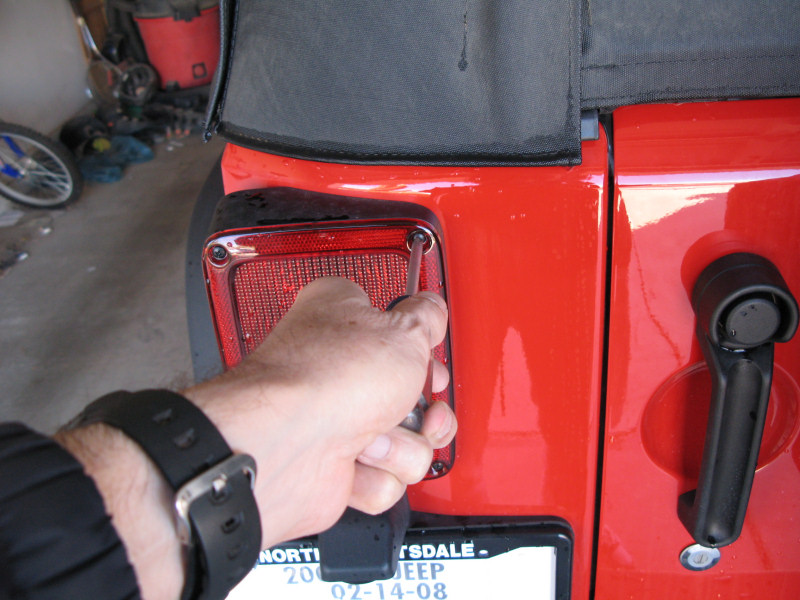
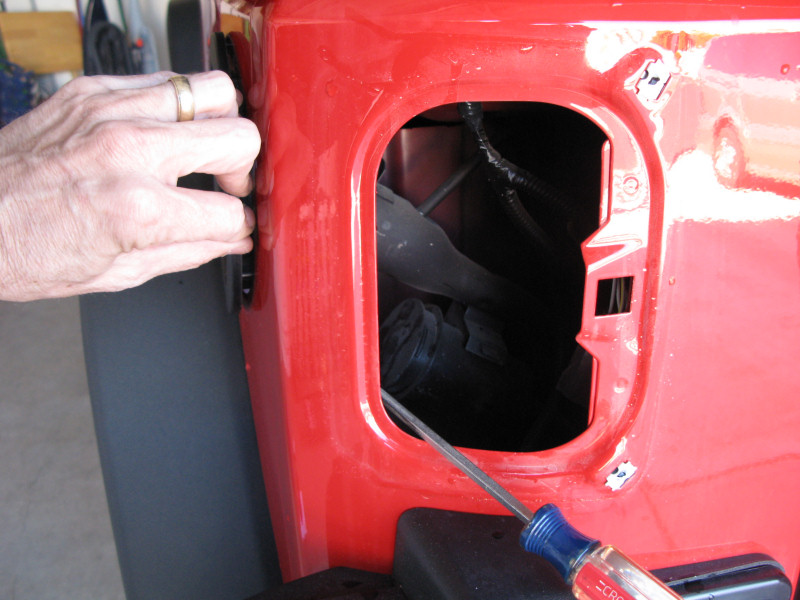
To install, first you need to remove the drivers side tail light assembly to get to the filler area. You only need to remove the two inside (right) screws to disconnect the assembly:
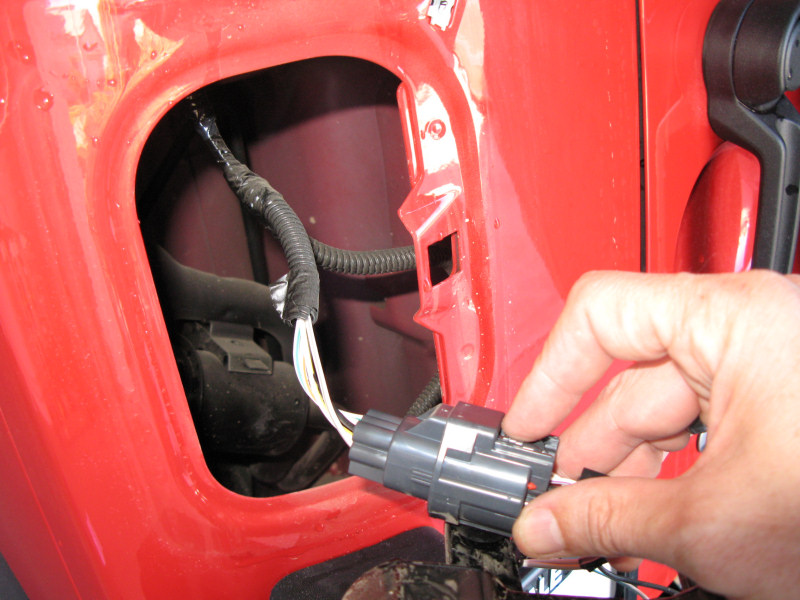
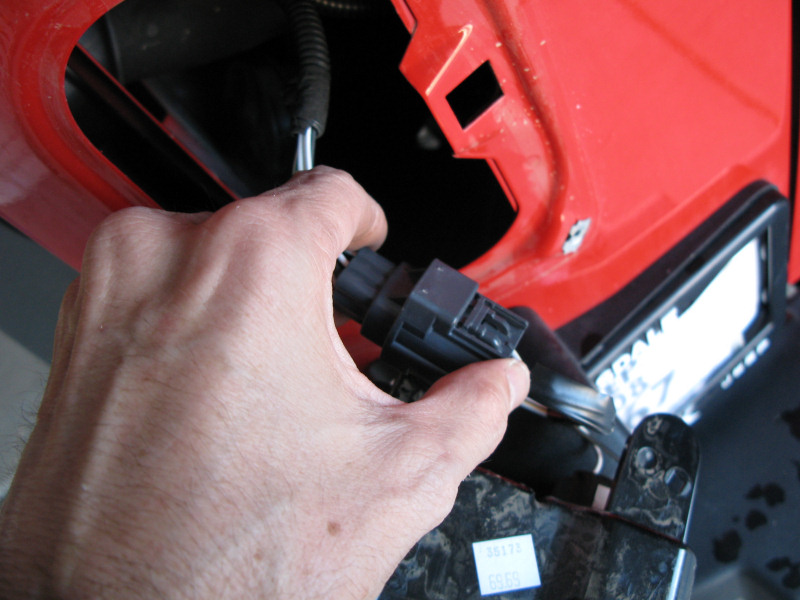
Assembly disconnected:
Push on the connector tab to disconnect the wiring so the assembly can be completely removed:
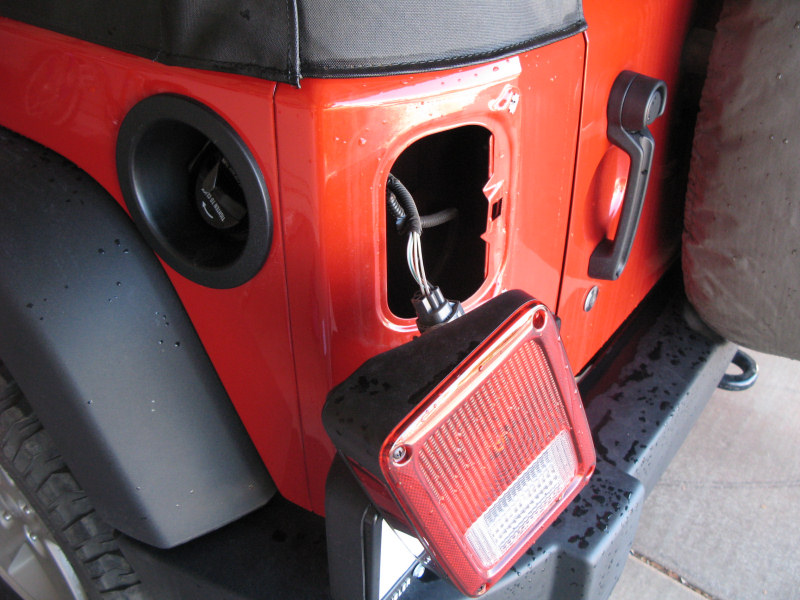
Assembly completely removed:
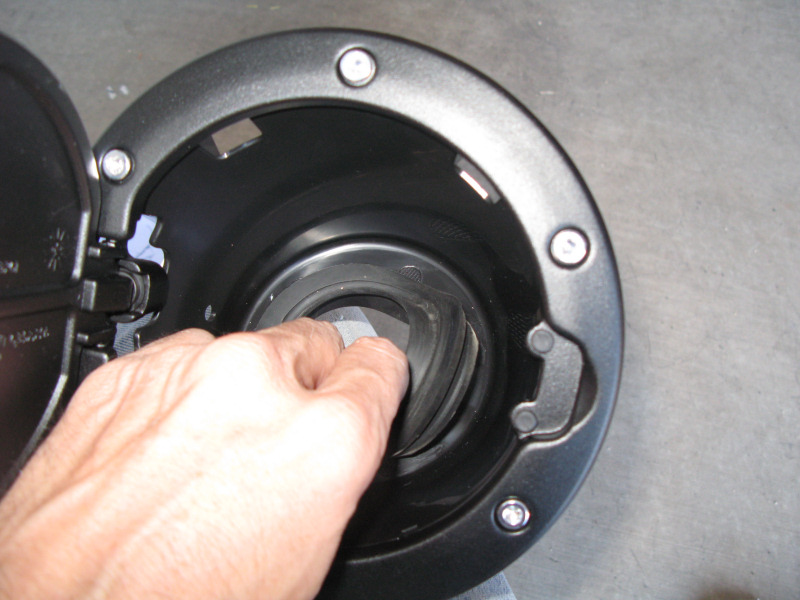
Remove the old gas cap by pushing the plastic connector to the side:
You need to pop out the old filler neck. There are four tabs that hold it in place. You need to gently push on the tab with a screwdriver so it is free of the body sheet metal. This is one of the bottom tabs:
And one of the top tabs:
With the two back tabs free you can get your fingers inside the top and slide it to the rear - don’t force it or you may bend the sheet metal:
All four tabs free, slide it off:
Here’s a shot of the rear of the top. You can see the four tabs:
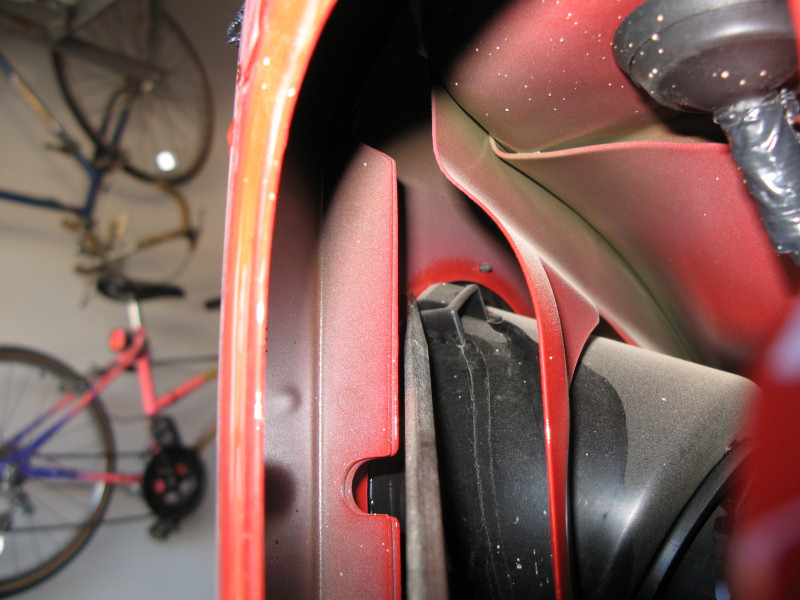
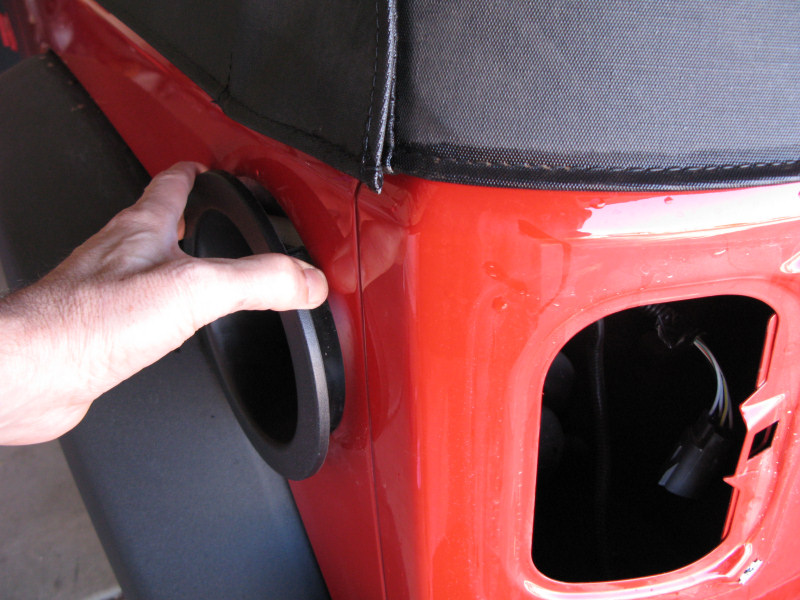
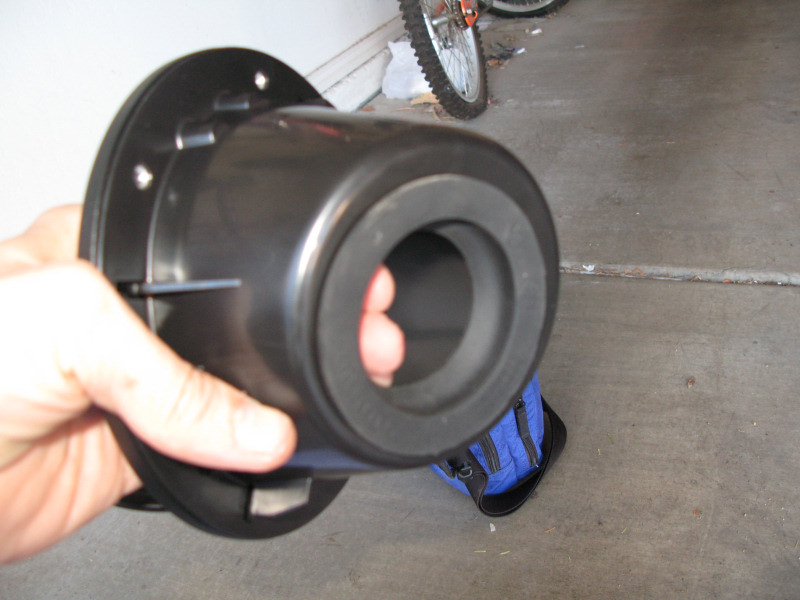
Here’s what it looks like with it removed:
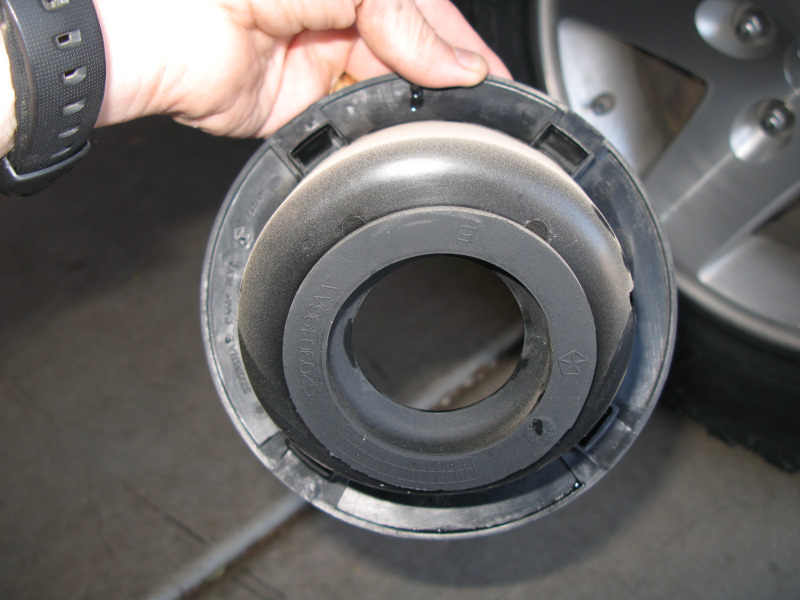
Remove the rubber gasket from the old top:
The rounded part of the gasket is on the top (outside):
Install the old gasket in the new filler door top:
Ensure the gasket is seated properly on the front and the back:
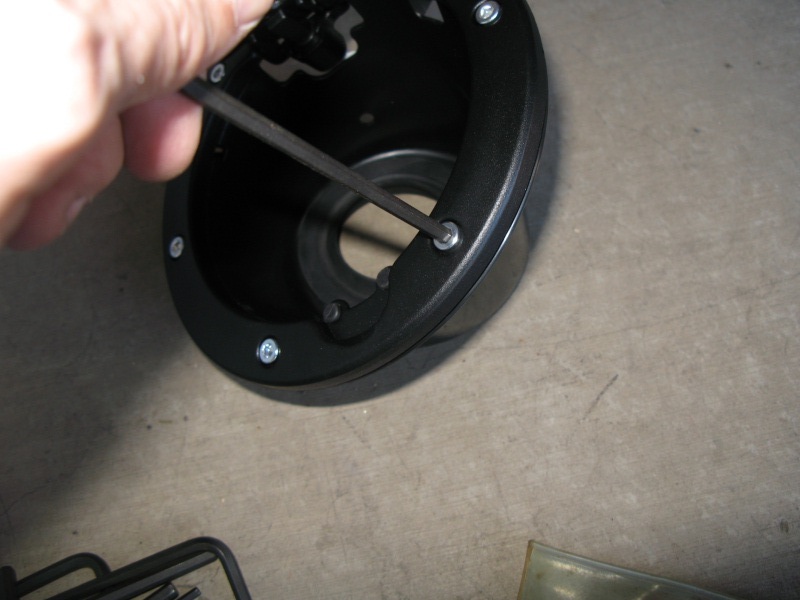
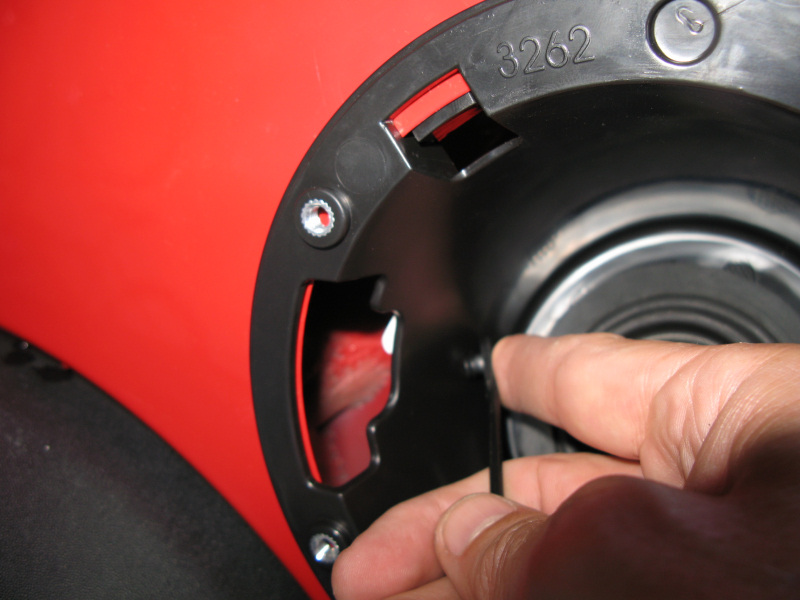
Remove the aluminum 4 mm hex key screws from the filler door:
Note that the top and bottom screws use a separate nut and they don’t have to be removed (in the picture I removed all screws):
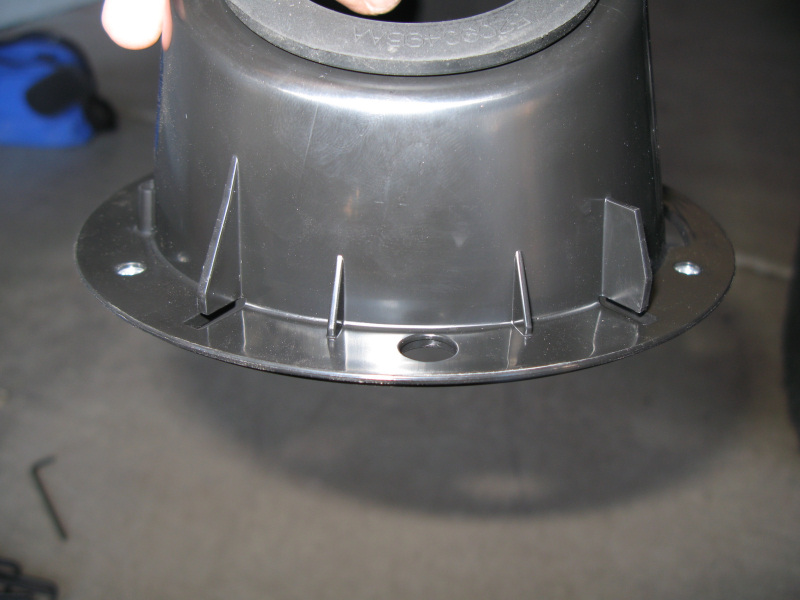
You need to slide the two slots in the bottom of the neck into the body sheet metal, and the top two tabs are secured like the older filler neck. The picture illustrates the bottom slots:
The slots need to slide in here:
Slide the neck into position. Here’s the bottom slots in place:
Here are the top tabs clicked in place:
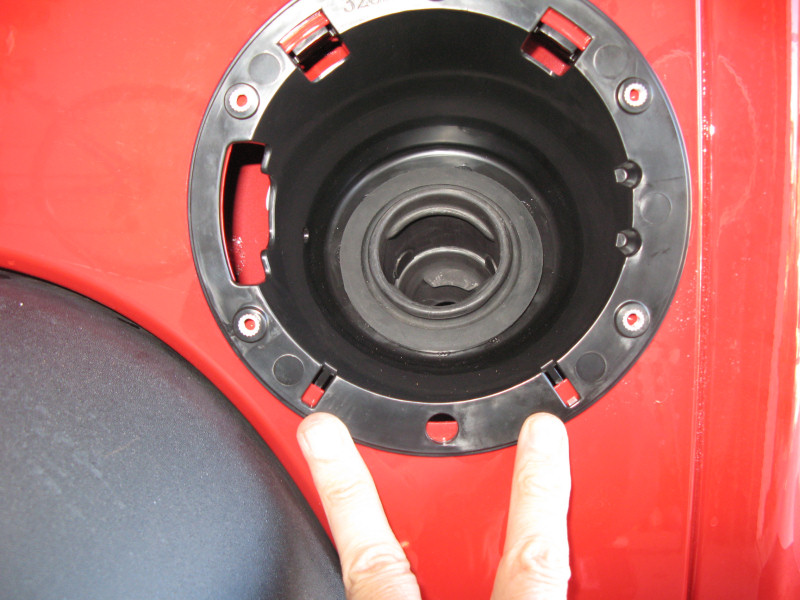
Ensure the rubber gasket is seated properly:
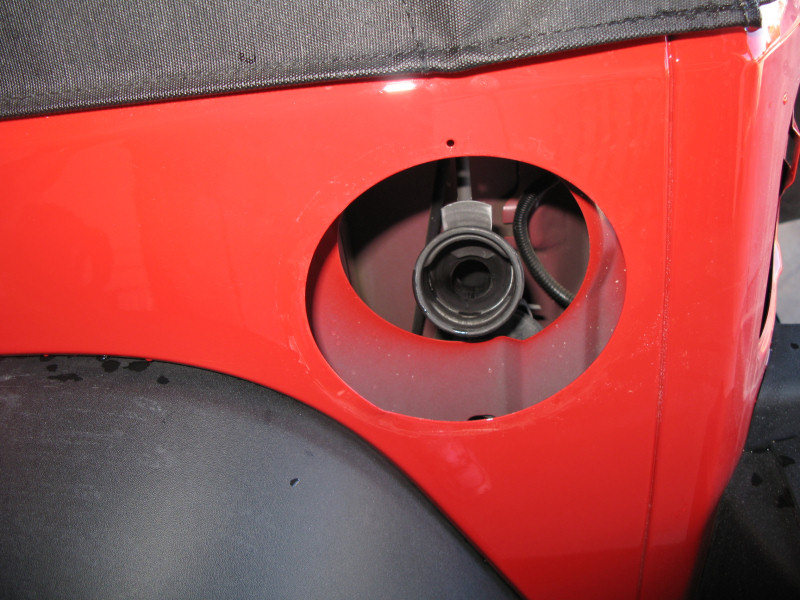
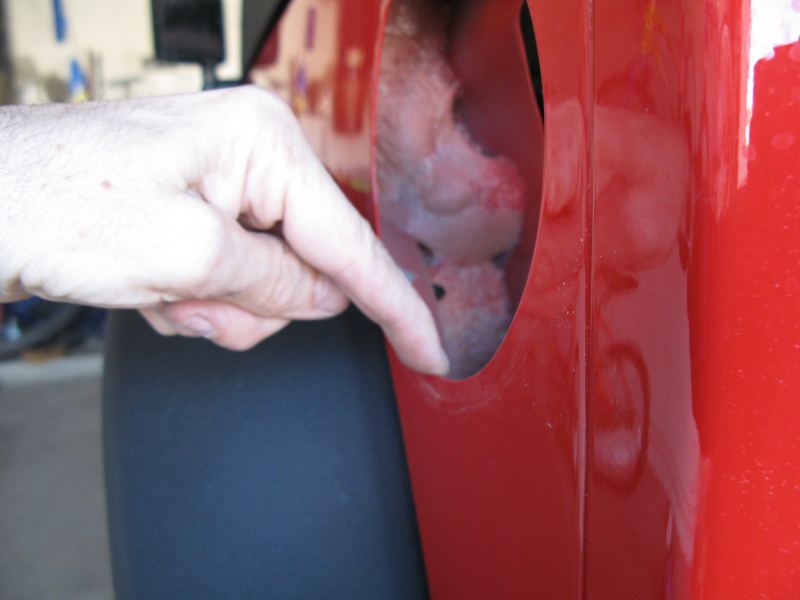
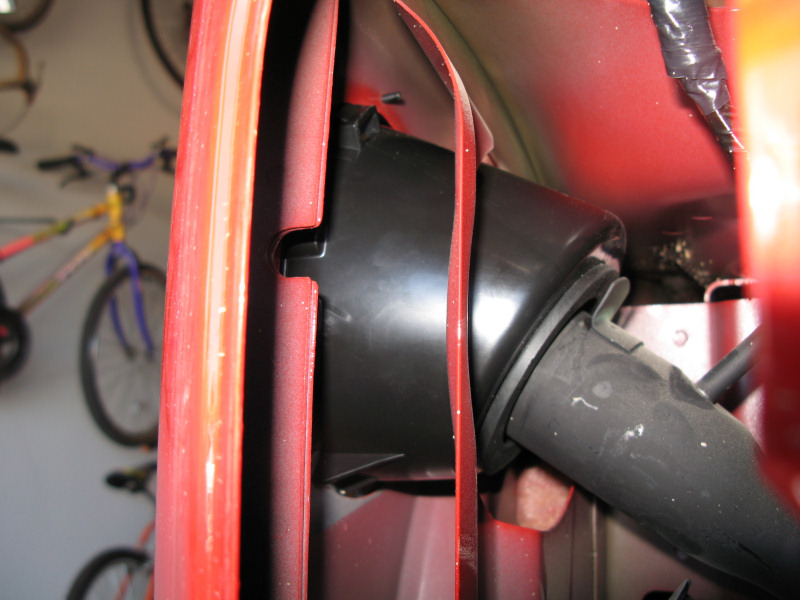
View from the tail light hole:
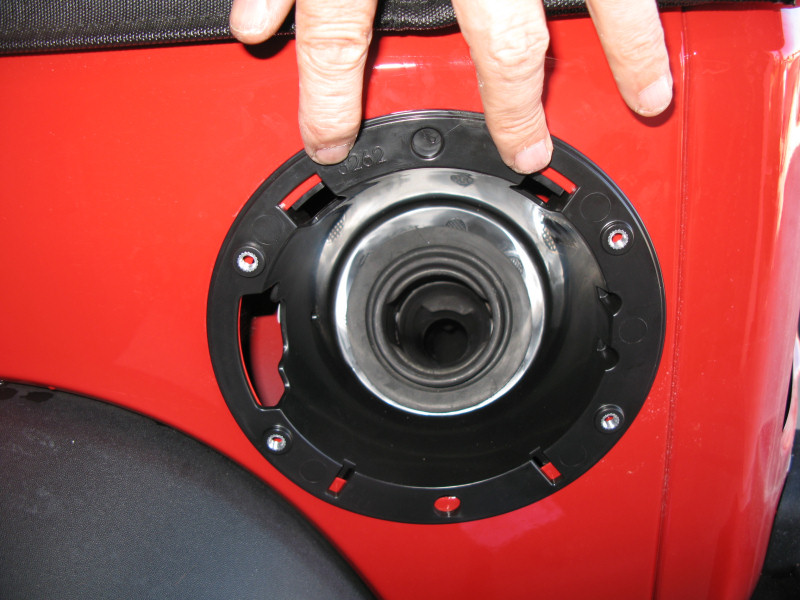
Push the new gas cap plastic line in the hole and screw it in place:
If you took the top and bottom screws off, you need to replace them. Here’s where the nuts will rest when they are in place:
Here’s the back of the filler door showing where they go:
Carefully screw the aluminum screws back in place. Remember that it’s easy to strip aluminum:
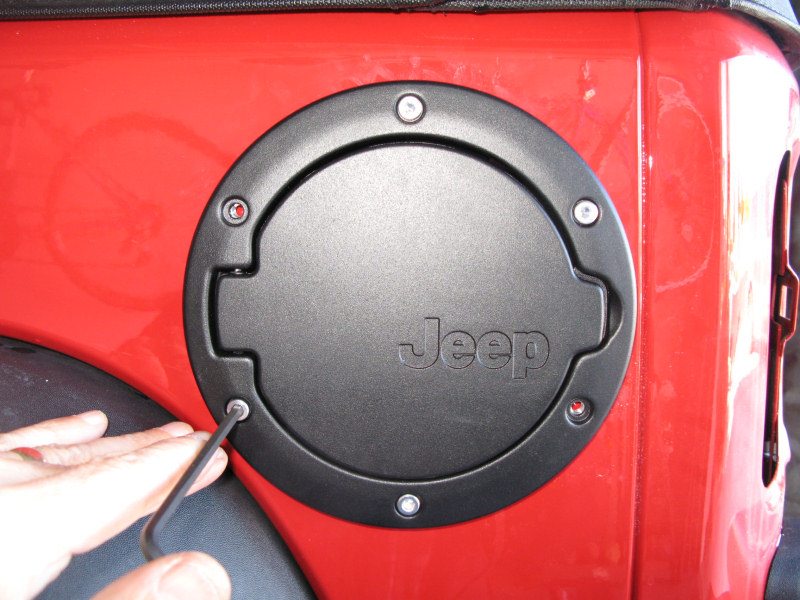
Align the filler door screws with the neck top. You need to screw the aluminum screws in place. Remember that aluminum screws strip easily, so don’t force anything! You should loosely start all four screws using an “X” pattern. Once all screws are started they can be tightened, again using a “X” pattern. The screws are supposed to be torqued to 15 inch pounds:
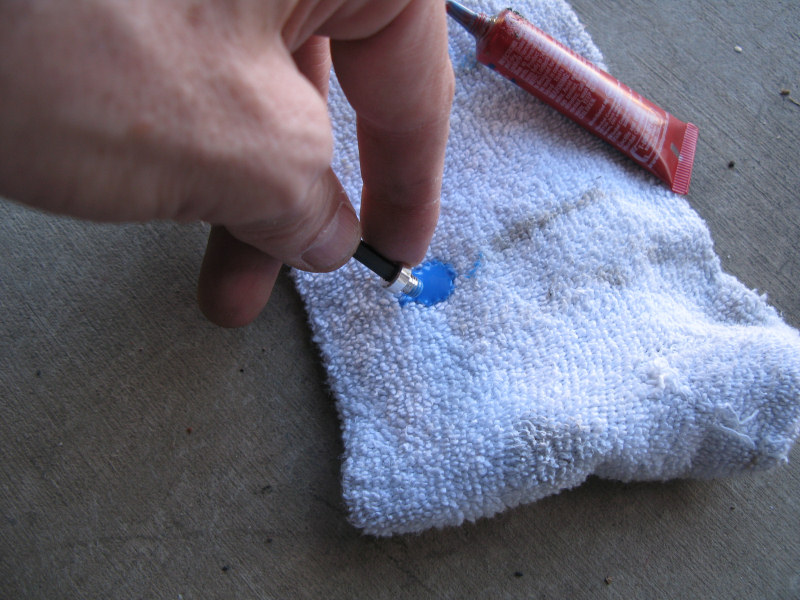
I didn’t have a torque wrench that small, so I used some Loctite on each screw:
Once the door is in place the tail light assembly should be re-installed. Re-connect the power connector and screw it back in:
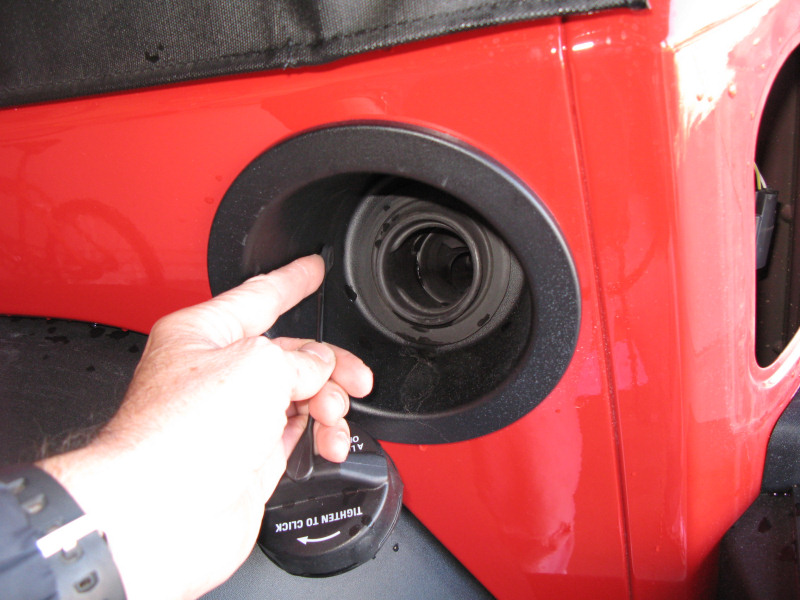
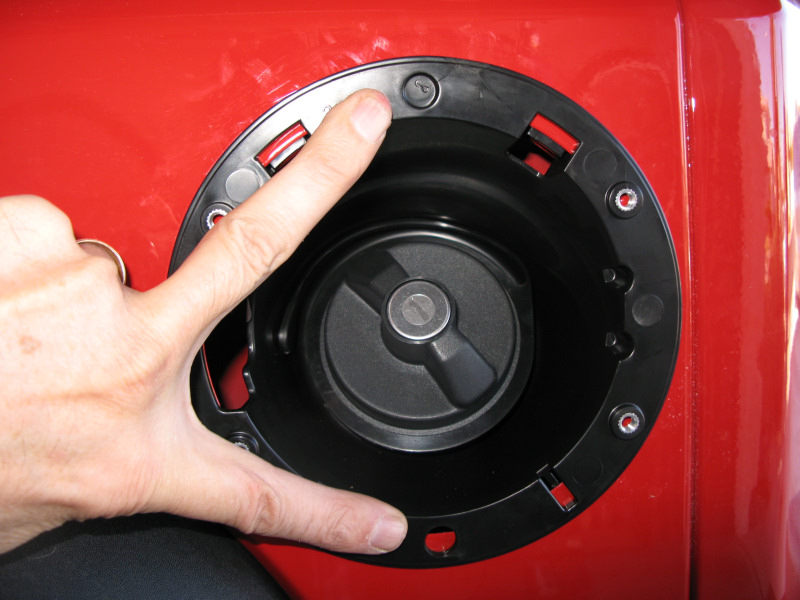
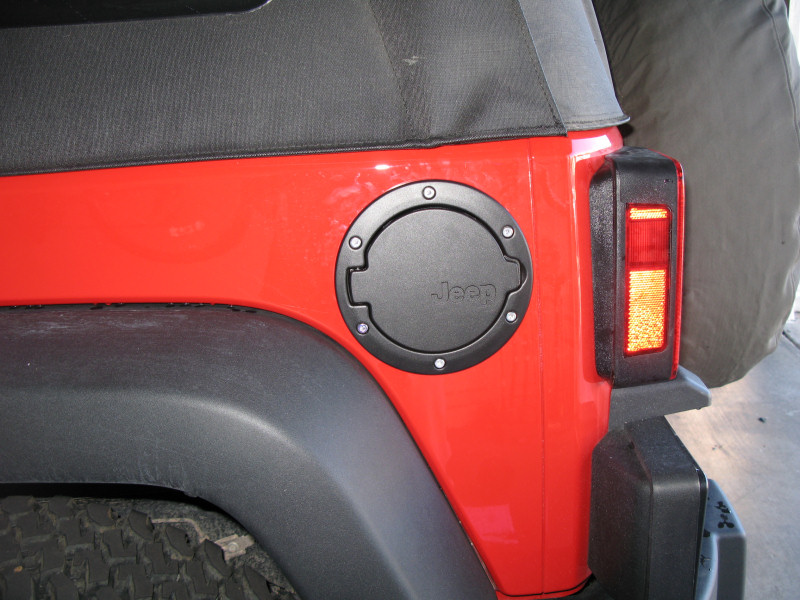
Finished:
If you have any questions or comments about this page click here to send email.Last modified: December 21, 2009 06:44:07 PM |