|
|
|
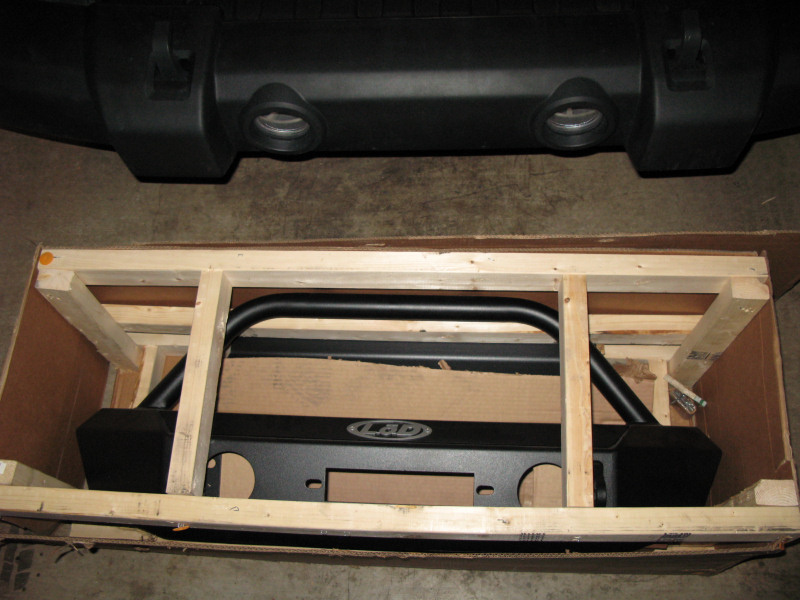
The Mod:Time to upgrade the stock plastic front bumper to a LoD Shorty bumper with the optional skid plate. What it does:Supports a winch, since it's metal you can use a Hi-Lift Jack, since its a shorty it provides better access rock faces with the tires, and it allows the stock fog lights to be re-mounted. Photos:The bumper arrived in a crate with some minor rubbing of the paint on the two pointy edges of the bumper (because it was shipped on end):
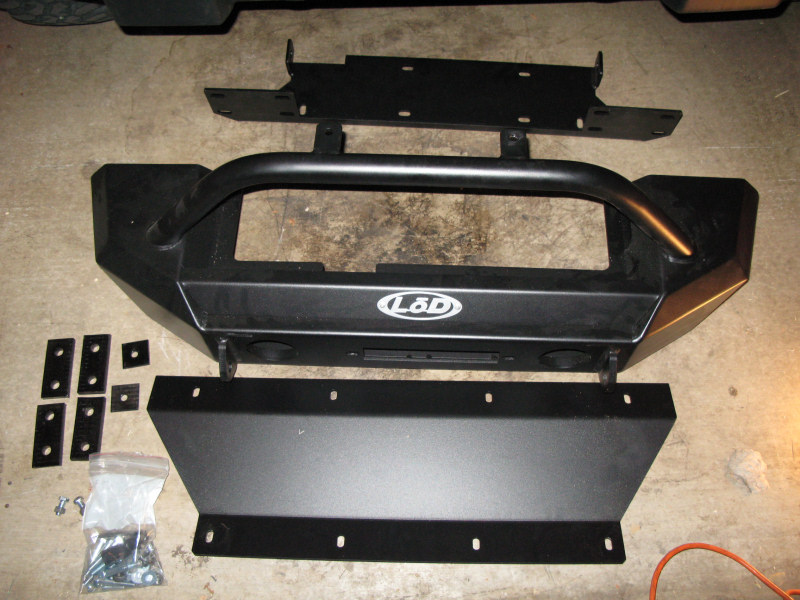
Unpacked:
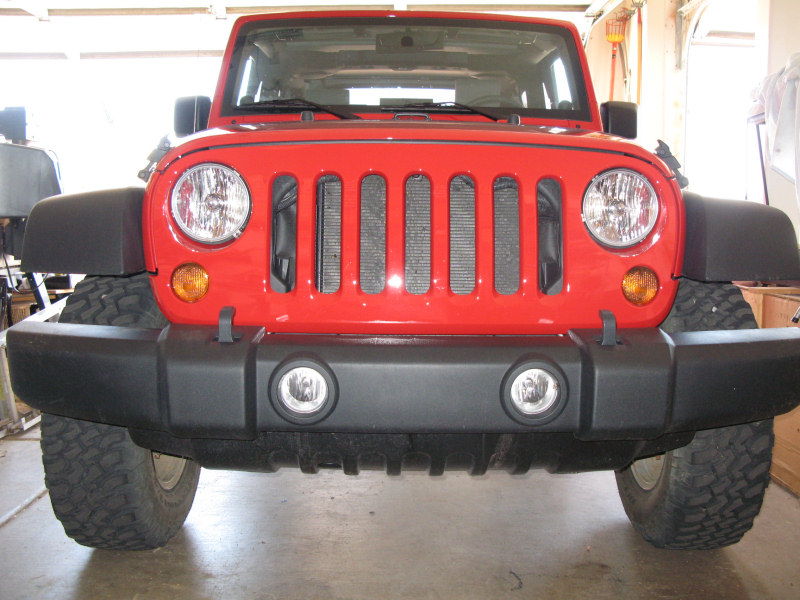
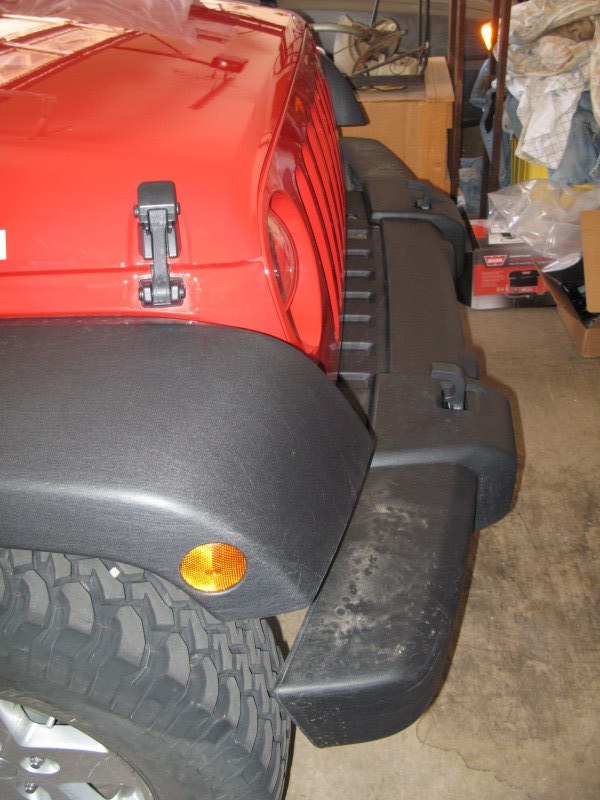
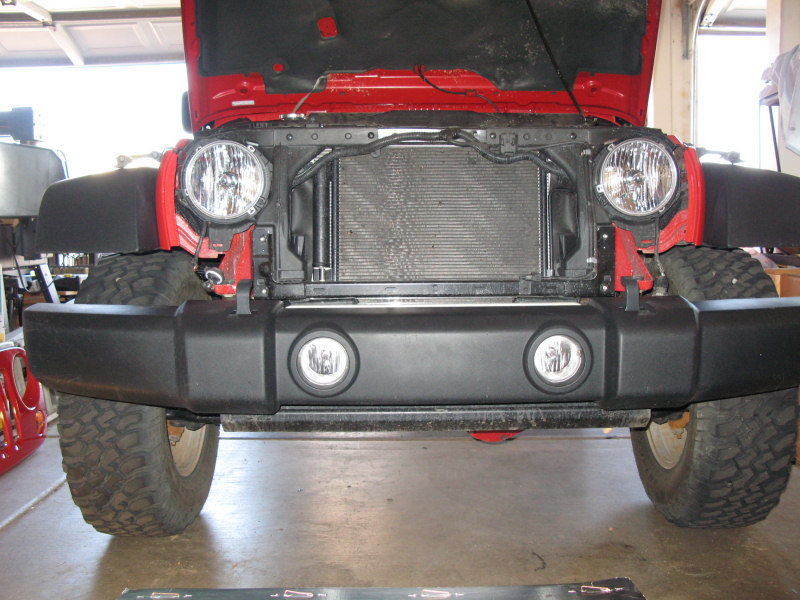
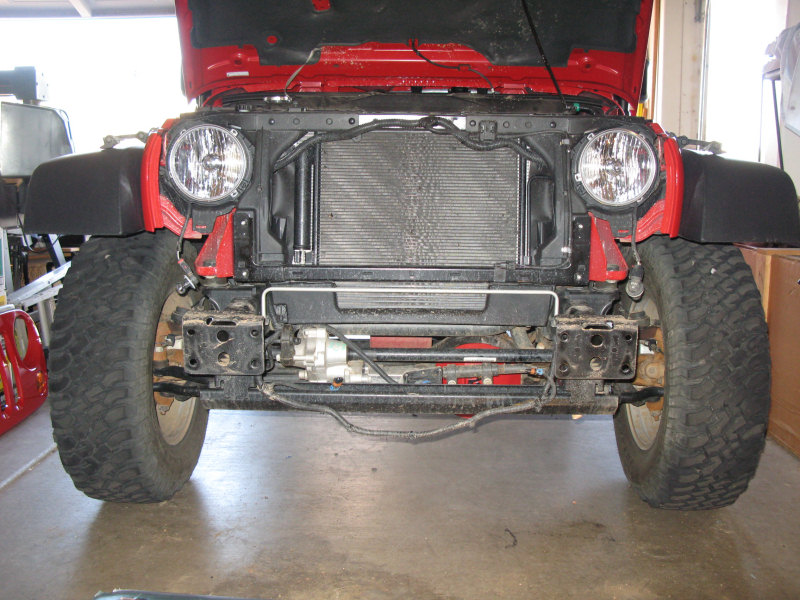
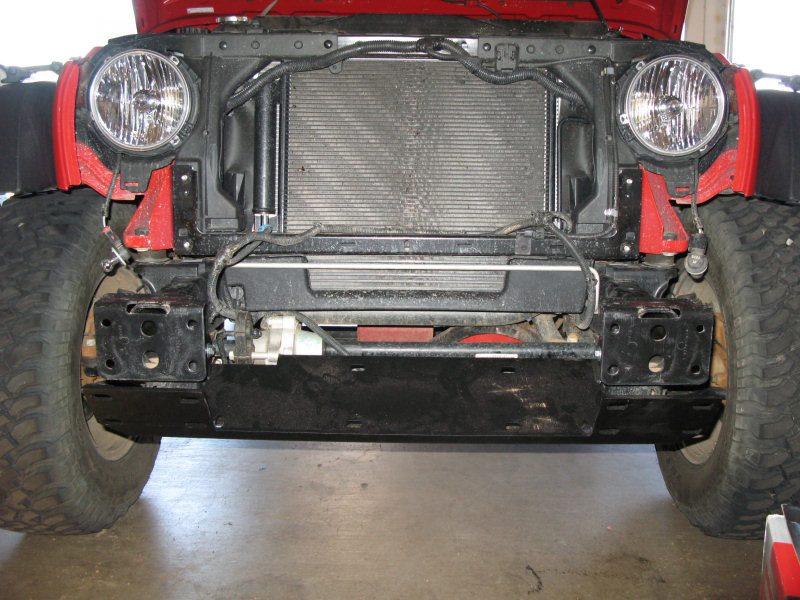
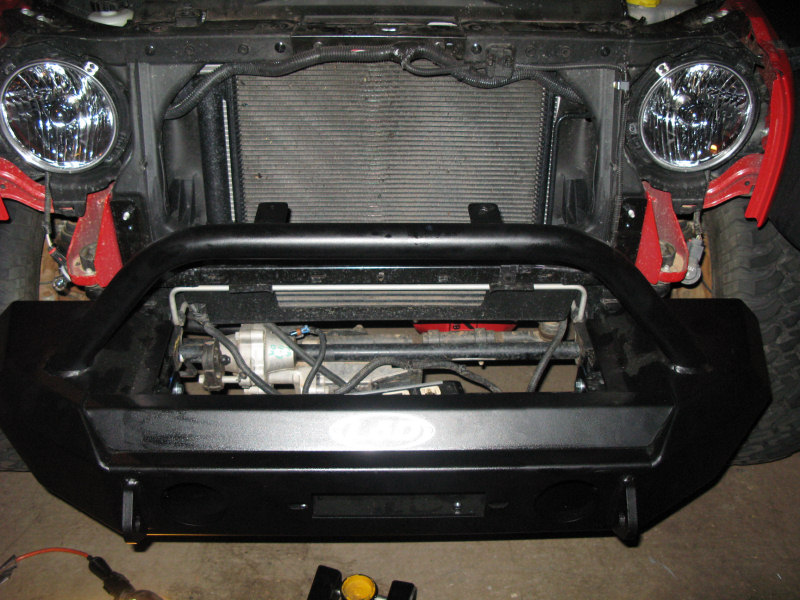
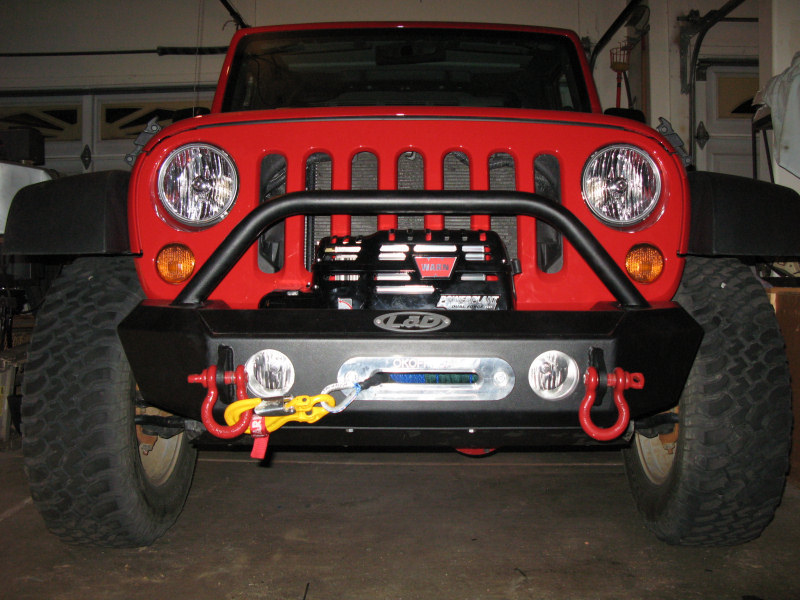
Measurements before install: Ground to bottom edge before curve inward on plastic fenders - Front 36.0", Rear 36.5"; Ground to bottom edge of Rock Rails - Front 17.125", Rear 18.125"; Grill to front of Bumper Stop - 11.25"; Ground to bottom edge of Bump Stop - 18.75"; Ground to bottom of Air Dam - 12.5". Measurements after install: Ground to bottom edge before curve inward on plastic fenders - Front 35.25", Rear 36.5"; Ground to bottom edge of Rock Rails - Front 16.375", Rear 17.875"; Grill to front of Bumper - 13.0"; Ground to bottom edge of Bumper - 18.0"; Ground to bottom of Skid Plate - 14.75". Front view with old bumper:
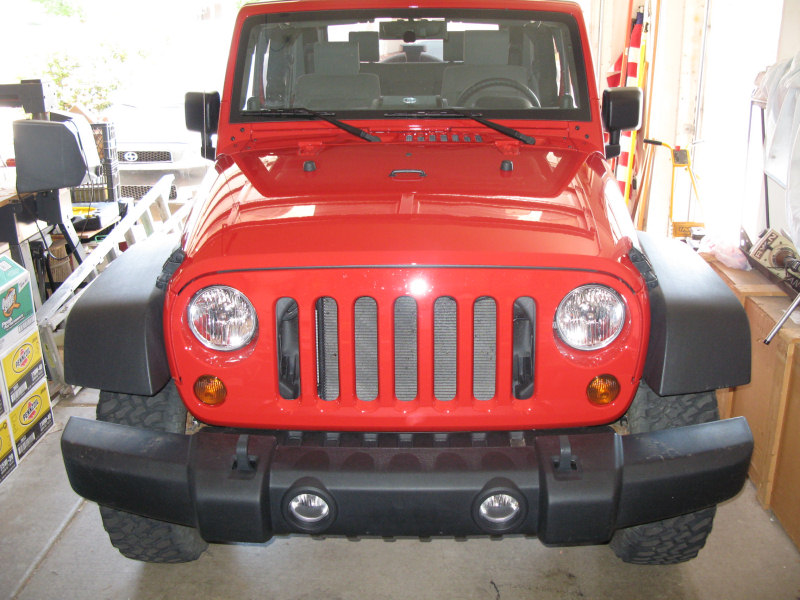
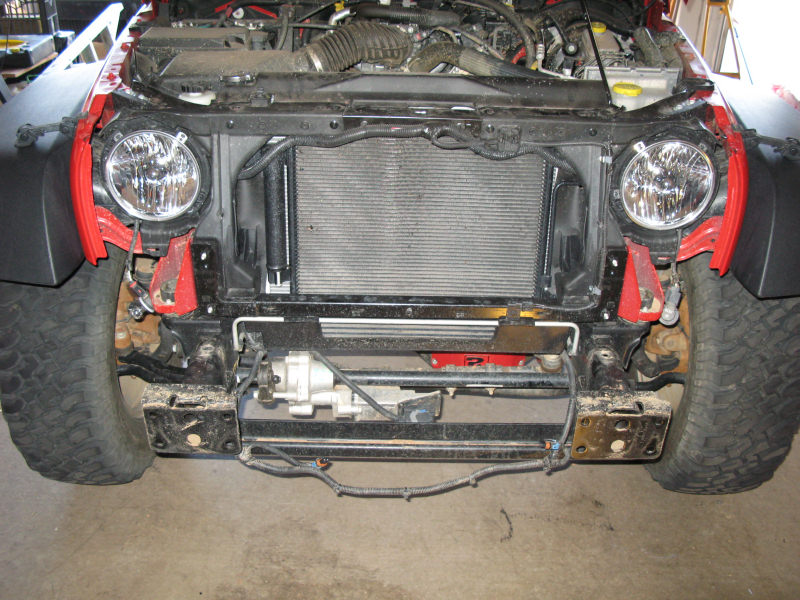
Another front view:
Side view:
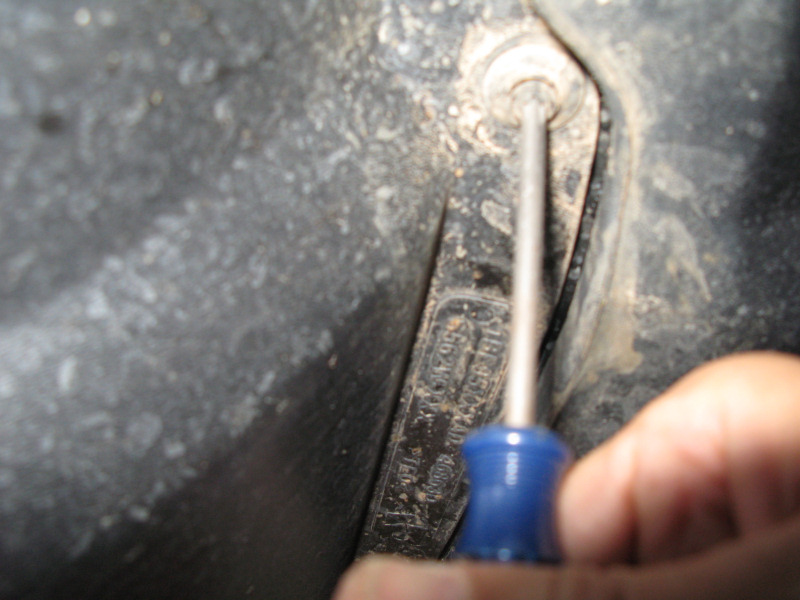
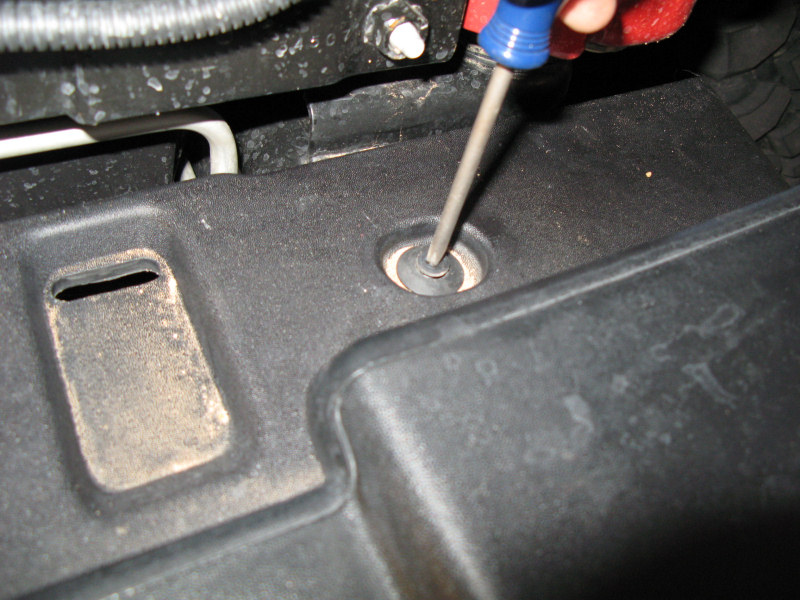
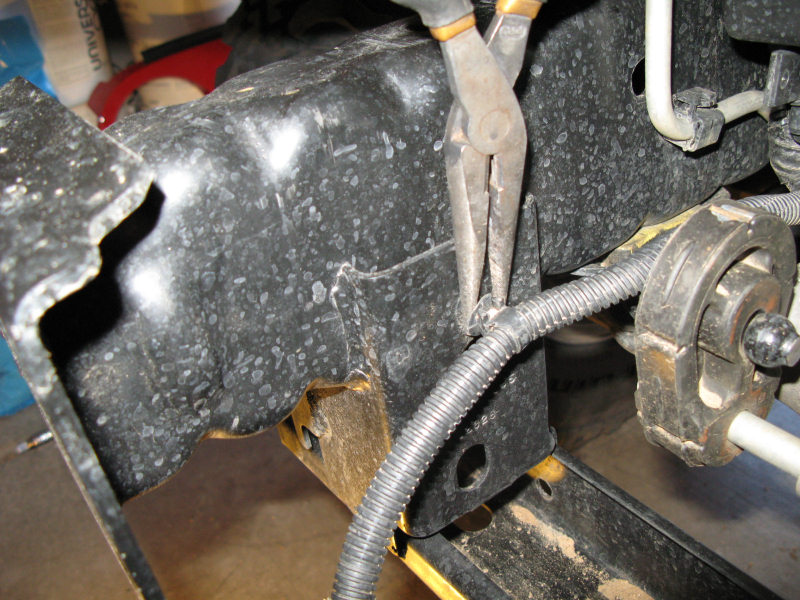
The bumper and Warn Winch were installed at the same time, so the grill has already bee removed to make the installation of the winch easier. To install the bumper the old bumper must be removed. First the Air Dam must be removed. First, remove the 4 pin fasteners at the front edge of the Air Dam:
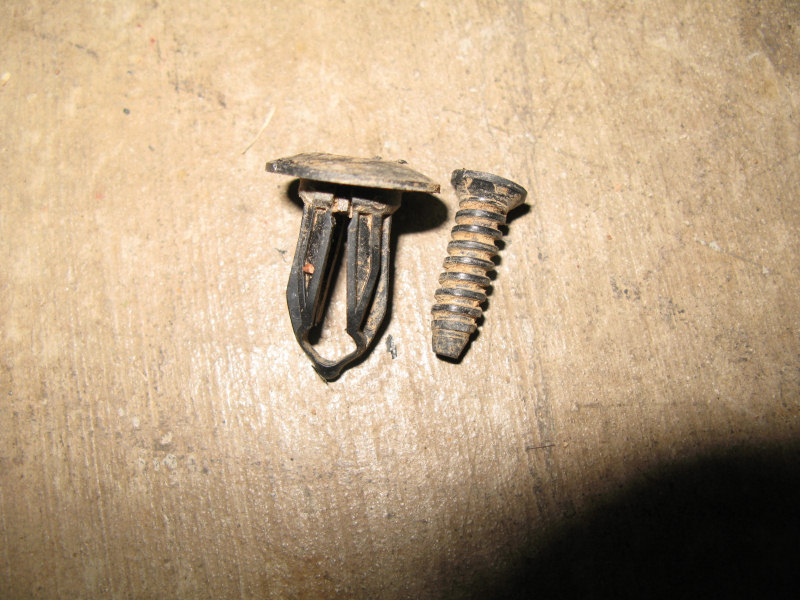
If you are lucky they will come out cleanly:
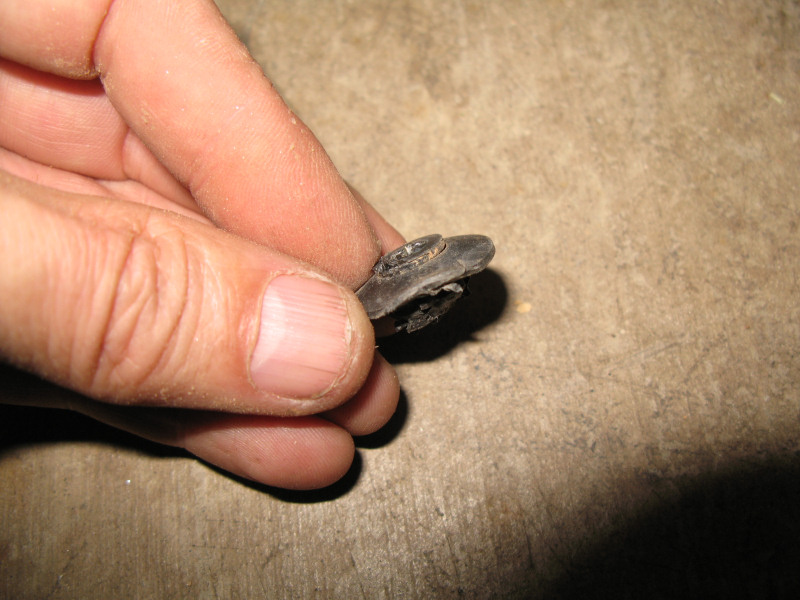
If not you will have to persuade them to come out (they will not be needed with the new bumper):
Next, there are 2 more push pin fasteners that are behind the Air Dam that must be removed:
Remove the Air Dam. It is not used with the new bumper:
Remove the two push pins from the Dust Cover (sits behind the bumper):
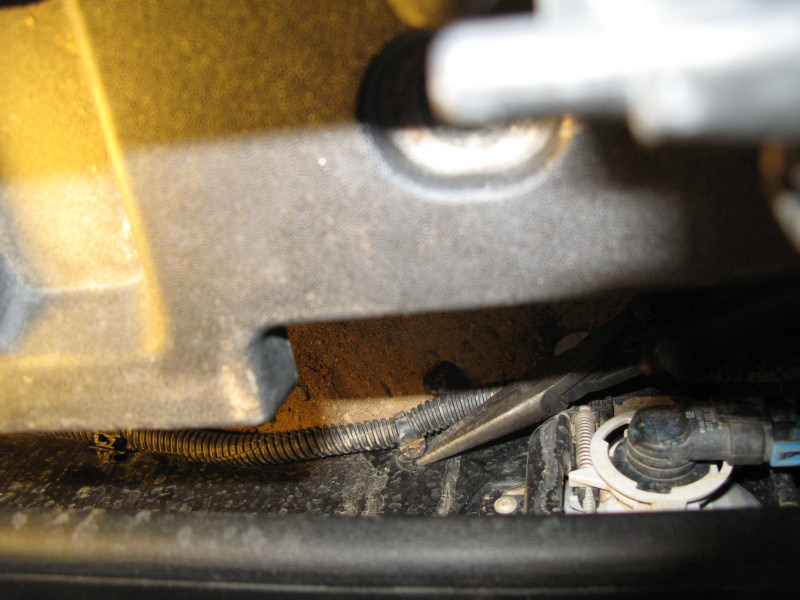
Slide the Dust Cover to each side to remove the 4 points where the wiring harness is attached to the bumper:
Slide the Dust Cover to each side to remove the connectors from the Fog Lights:
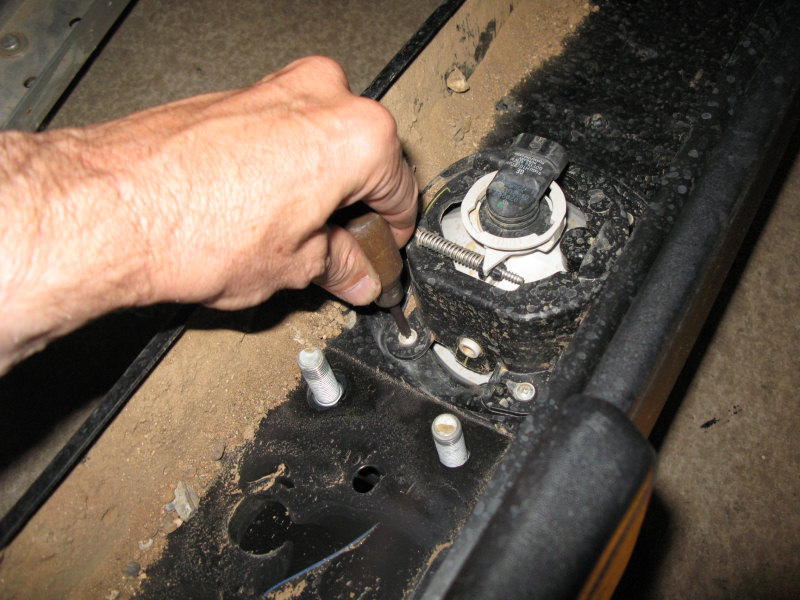
Remove the 8 bolts that attach the bumper to the frame:
Remove the bumper. It will not be needed with the new bumper:
Another view:
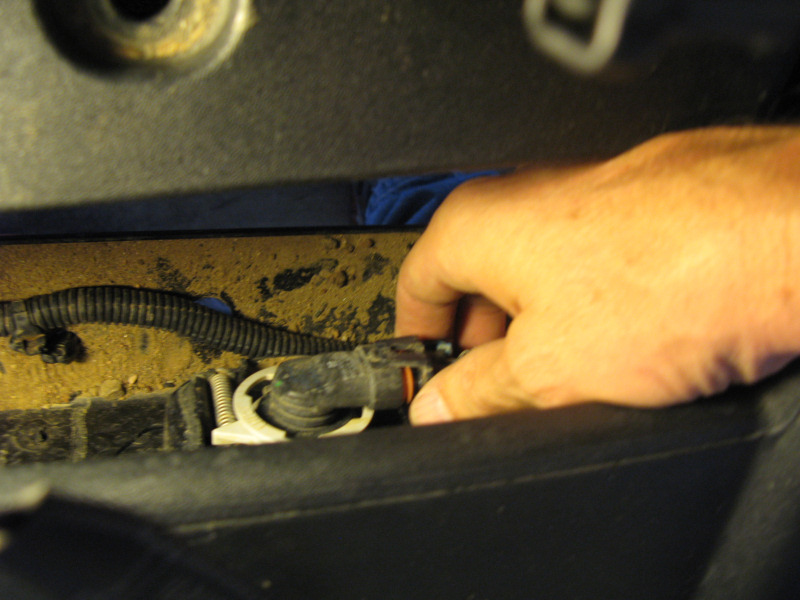
Now to install the new bumper. Remove the 2 points where the wiring harness connects with the frame:
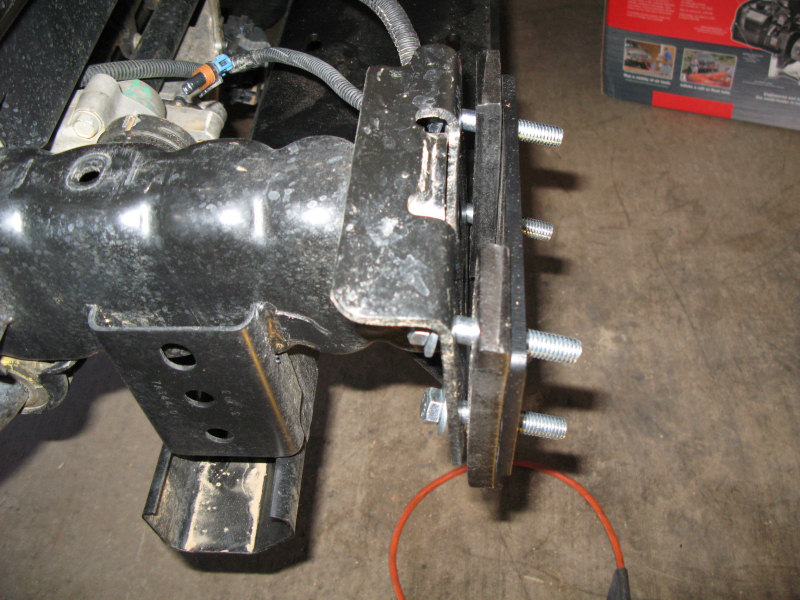
Get the winch plate and hold it in place while holding it with the nuts welded to a plate and bolts. Note that the flat edge of the nut and plate should be toward the bolt:
Just finder tighten the bolts:
Winch plate installed finger tight:
Insert the 4 spacers between the winch plate and the bumper:
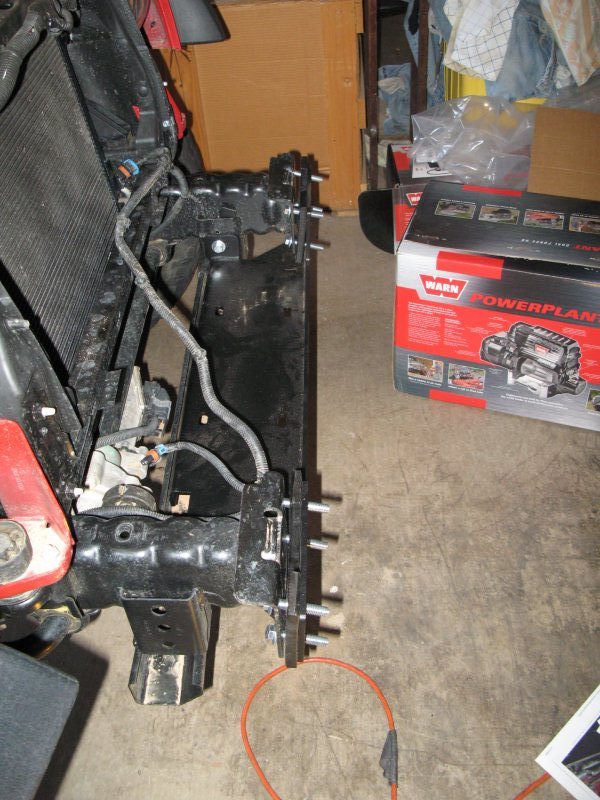
and hold them in place with 8 long bolts:
All bolts sitting in the holes:
Lift the bumper into place and finger tighten the 8 bolts:
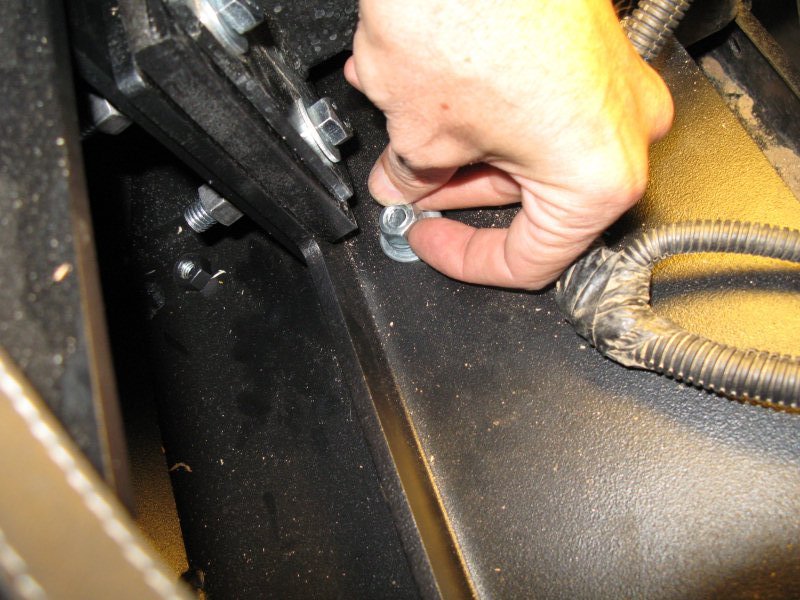
Install the 2 nuts and bolts that connect the bumper to the winch plate:
Tighten until the bumper and winch plate just touch:
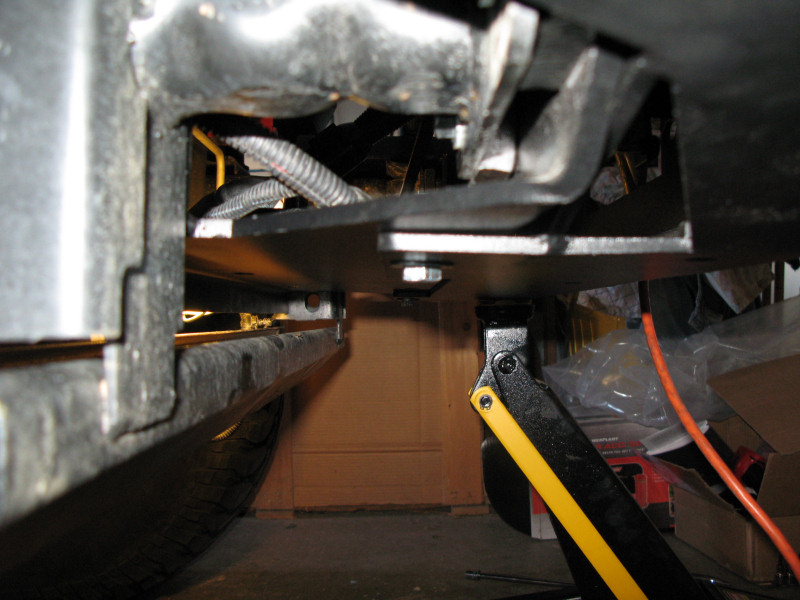
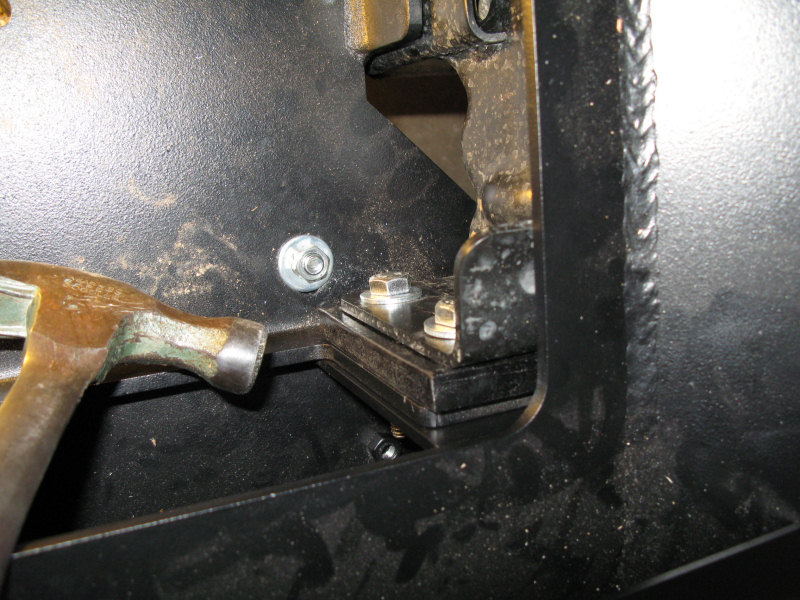
At this point all of the nuts and bolts for the bumper are loosely in place and need to be tightened. First, I made sure all of the bolts were sitting flat into the holes (I used a jack to pus up the drivers side to keep the holes straight). The first bolts to be tightened are the 8 bumper bolts, then the 2 cross member bolts (the nut with the welded tab), and finally the 2 winch plate and bumper bolts. When tightening the bolts I continuously checked the other bolts to ensure they all stayed straight. I also kept the spacers aligned:
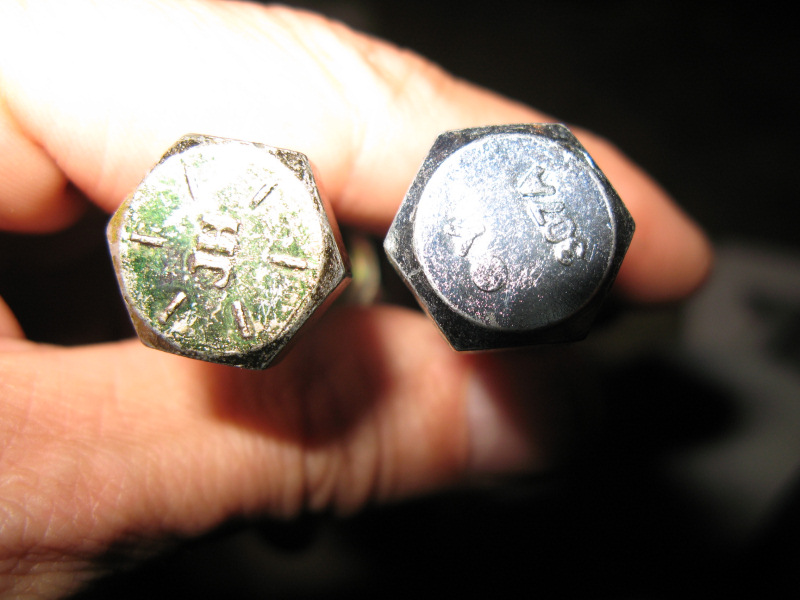
As I was preparing to tighten everything I noticed the bolts didn't have the standard Grade designation on them, which would mean they are Grade 2. I wanted to ensure they were at least Grade 5, so I went out to the local hardware store and replaced all of the nut/bolt combinations with Grade 8 bolts, nuts, flat washers, and lock washers; and replaced the stand-alone bolts with Grade 5 bolts and Grade 8 flat washers and lock washers. I also got a fatter nut and bolt (the same size as the 8 bumper bolts) for the two bolts that connect the winch mount to the bumper. The Grade 8 bolt is on the left, and the hardware that came with the bumper is on the right:
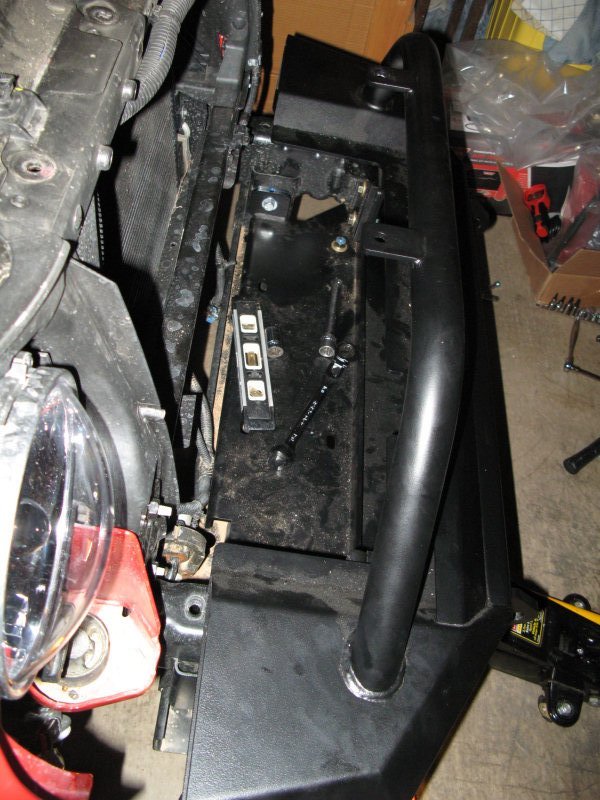
As I tightened the bolts I used a level and checked the other bolts to ensure everything was bolting together properly. The instructions for the winch said to tighten their Grade 5 bolts to 30-35 ft. lbs., so I tightened the Grade 8 bolts to 35-40 ft. lbs. Here's everything all bolted down properly:
Another view - Note that I used Lock Tight where possible:
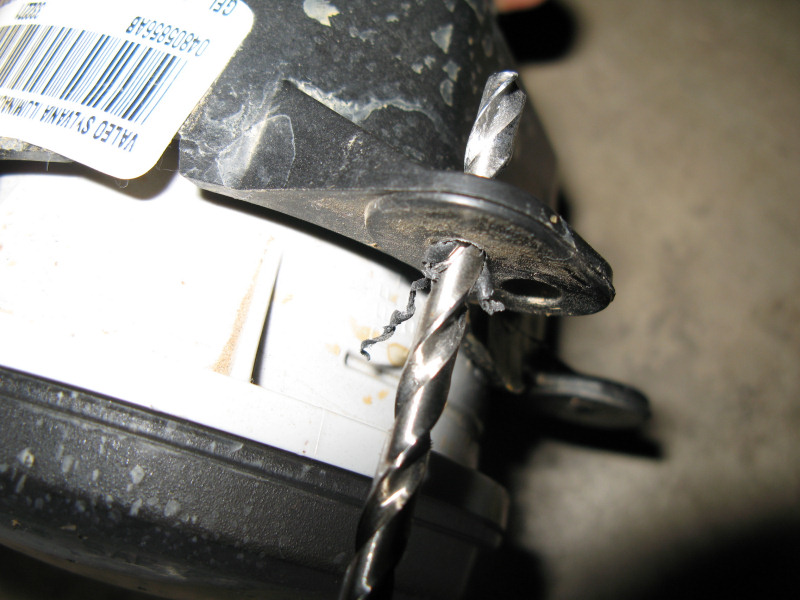
Next, I removed the factory fog lights from the factory bumper:
And drilled the holes larger until they fit into the 4 welded screws in the LoD bumper. I had to adjust the holes individually until the light fit in the bumper properly with the electrical connector facing toward the drivers side:
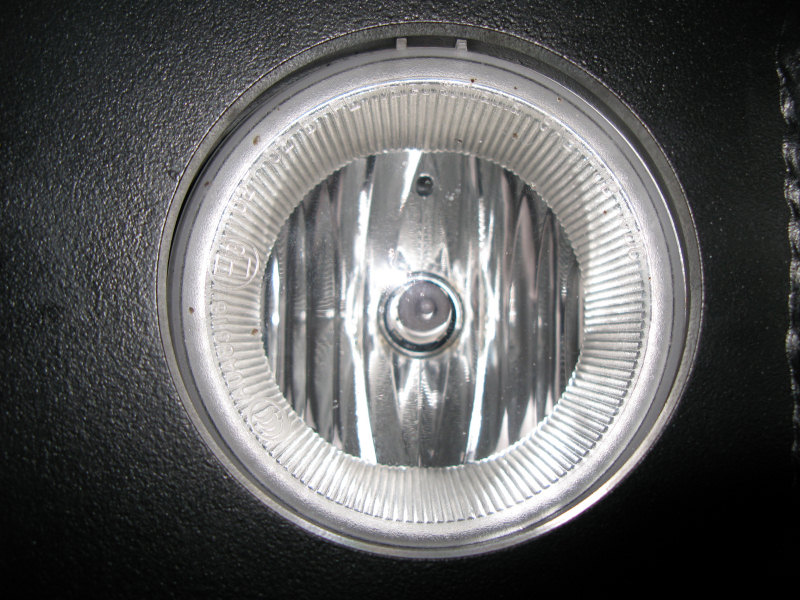
Fit properly with the two tabs on top of the lens fit into the hole in the bumper:
Plug in the electrical connectors and make sure the lights work:
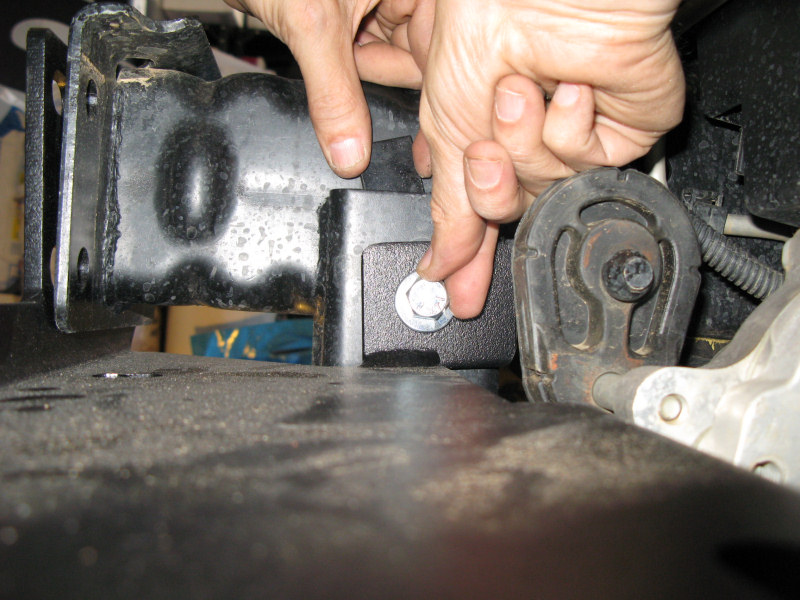
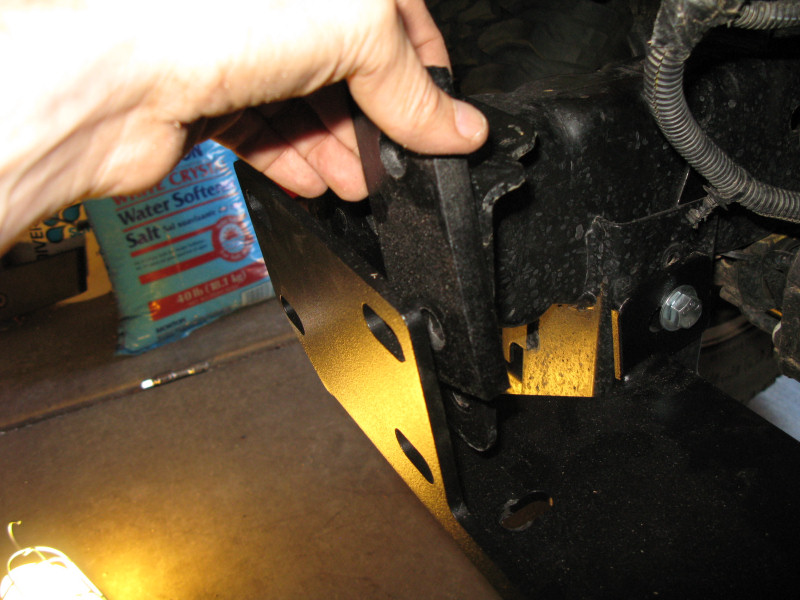
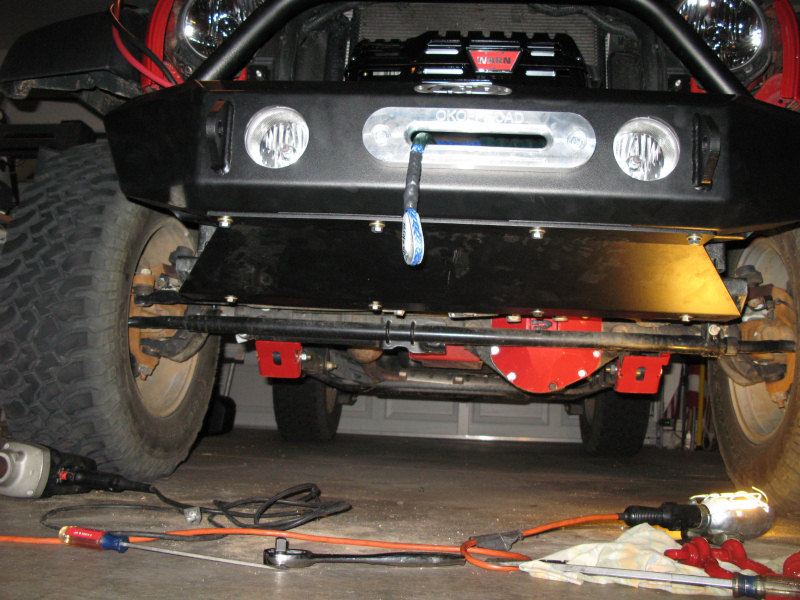
After installing the winch the skid plate can be installed. First hold it in place with the bolts on finger tight (note the front bolts are the Grade 5 bolts and the rear bolts are Grade 8):
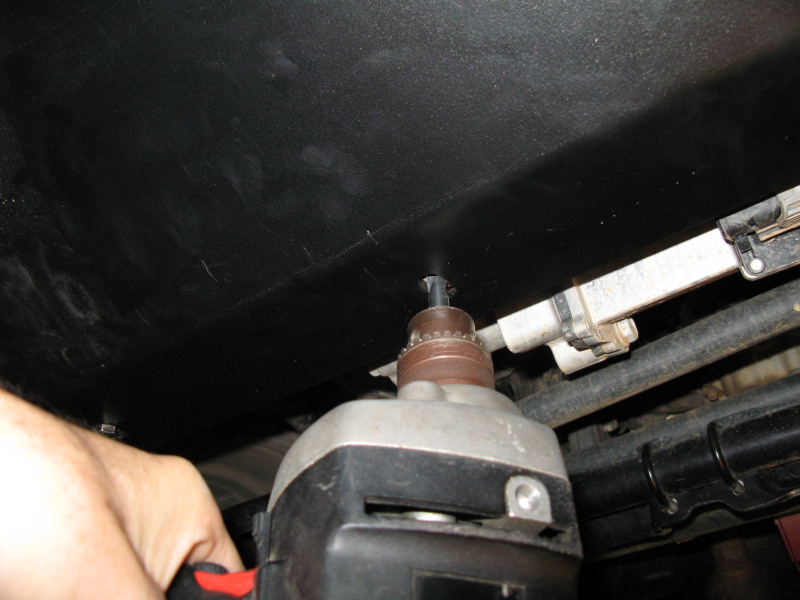
Drill holes for the middle two rear holes in the skid plate:
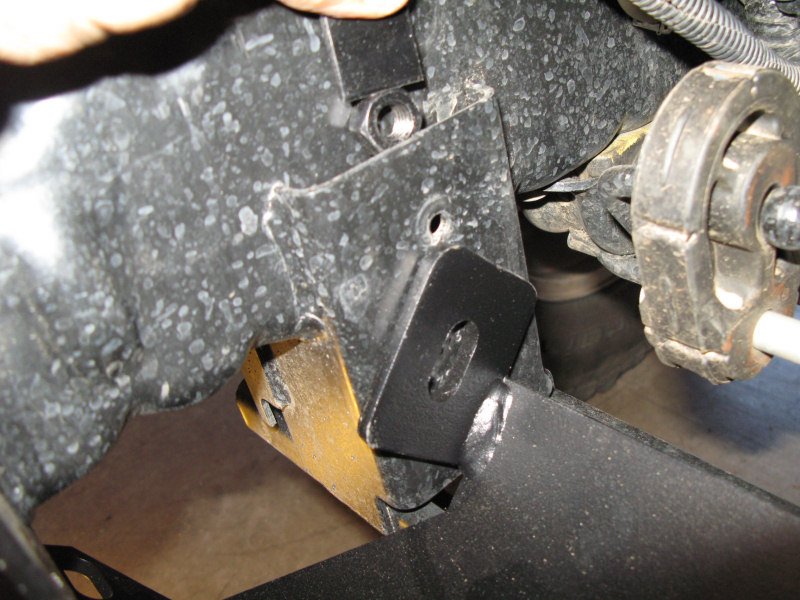
Tighten all bolts (note the rear end two bolts use the black square spacers that came with the bumper and are set in the rail over the factory hole):
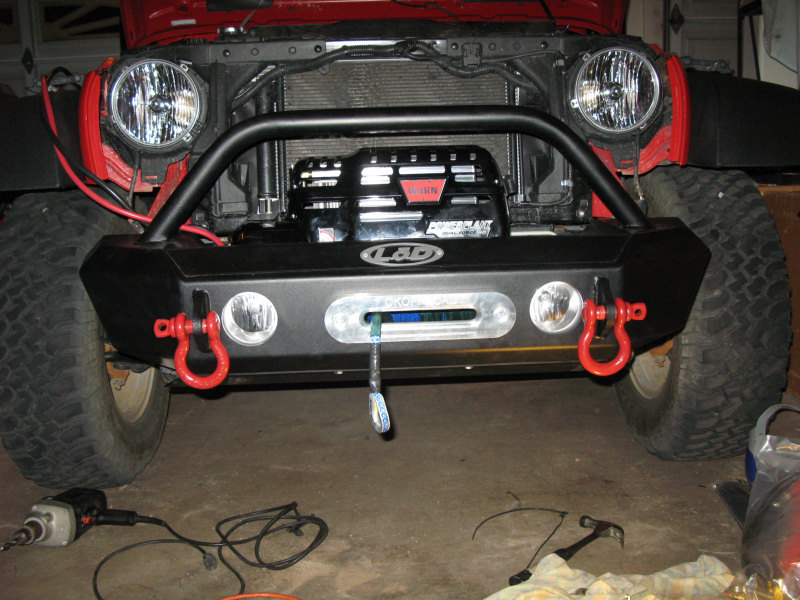
Install the shackles - I tightened them with a metal rod so they would be harder for someone to "borrow":
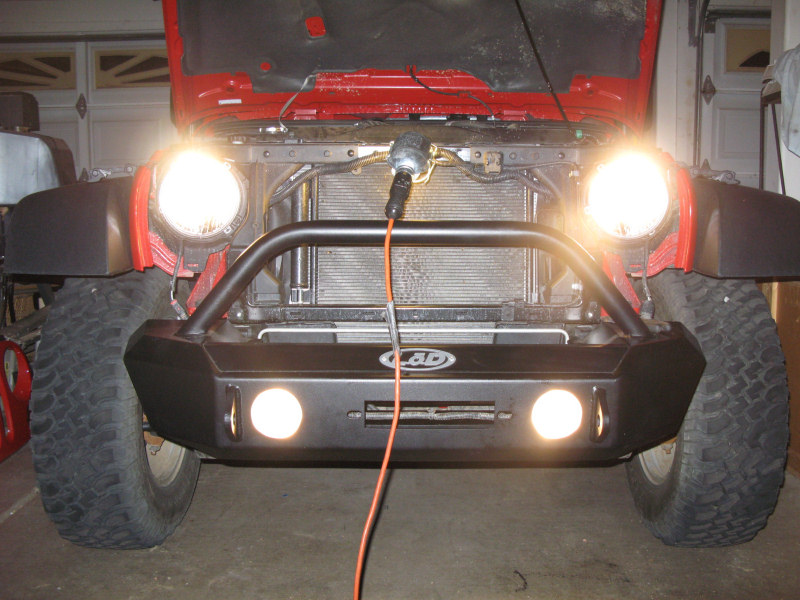
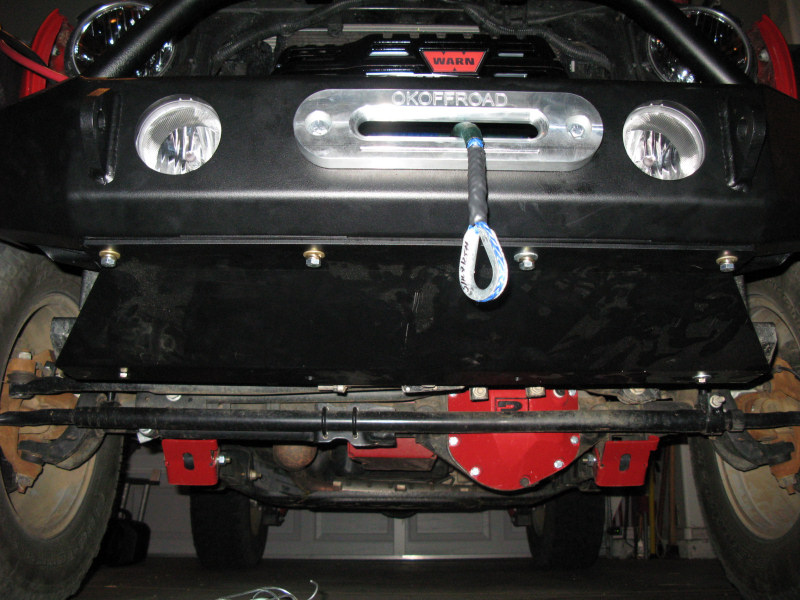
After finishing the winch installation it's all done:
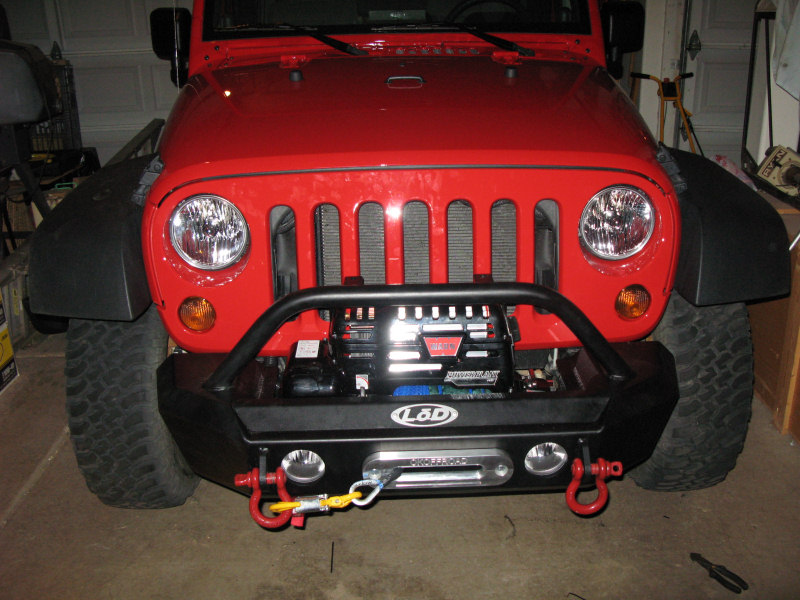
Another front view:
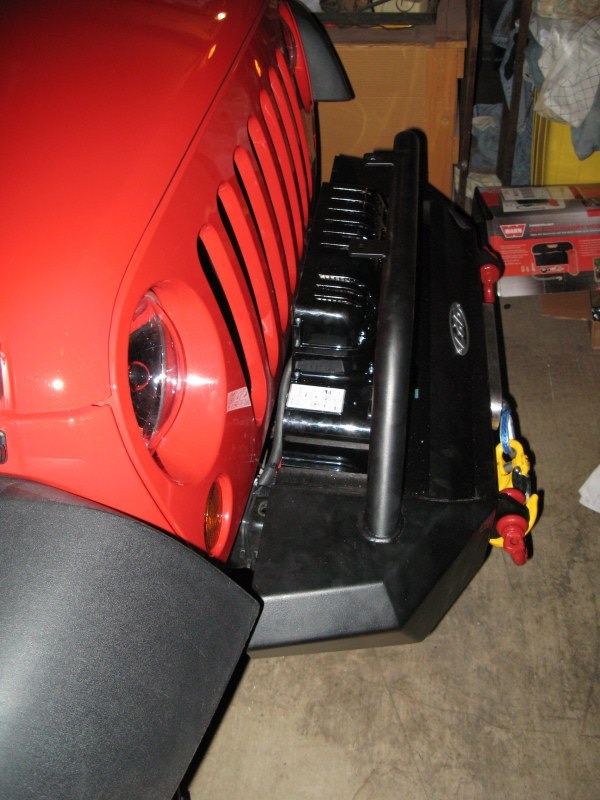
Side view:
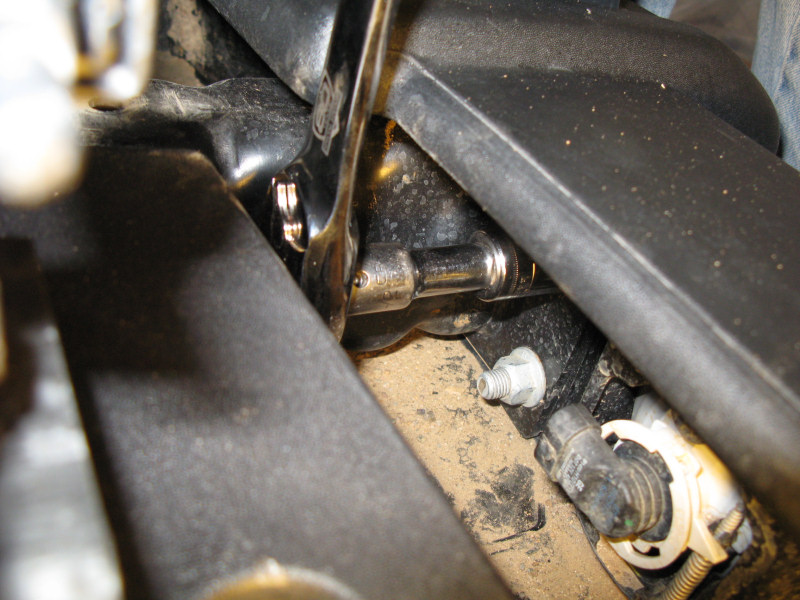
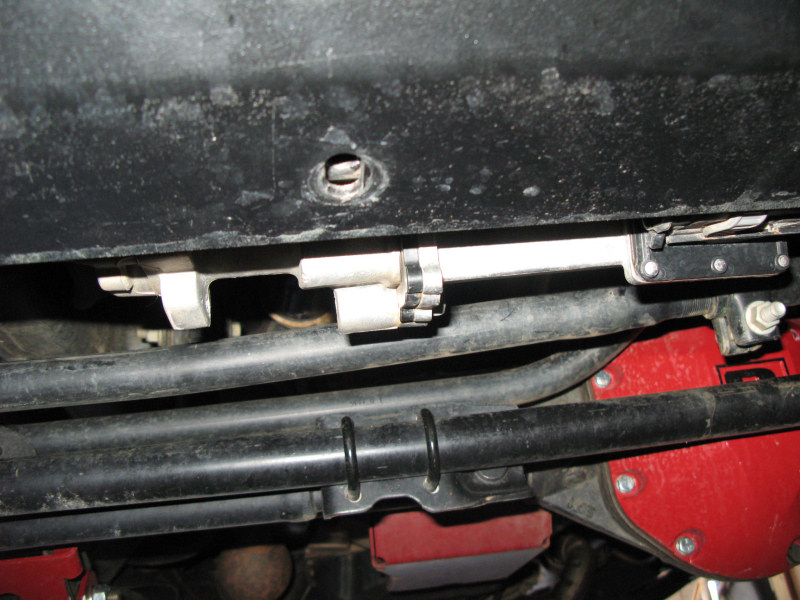
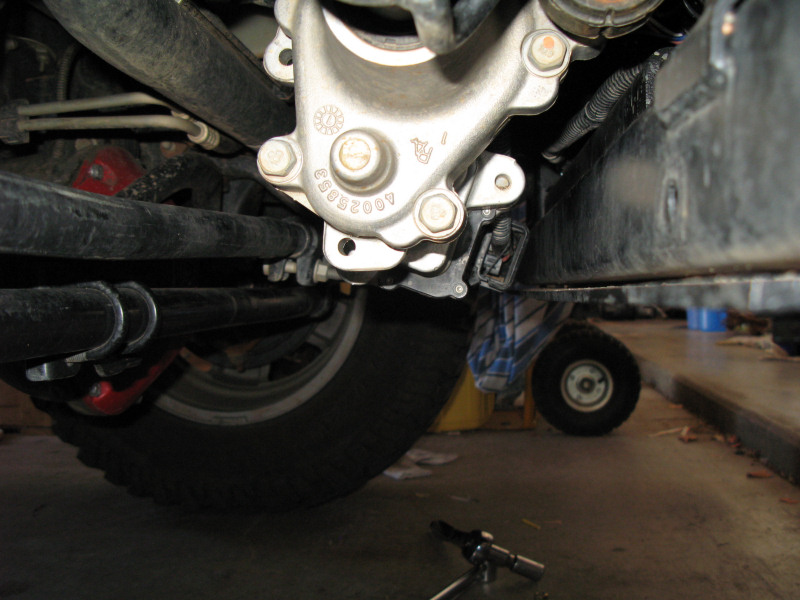
Update 7/7/2008 - I noticed that the Sway Bar Disconnect Motor and connector was exposed just below the skid plate, so I decided to add a brush guard. Here's the front view - you can see the bottom edge of the electrical connector (black plastic) on the right and motor (aluminum):
Side view:
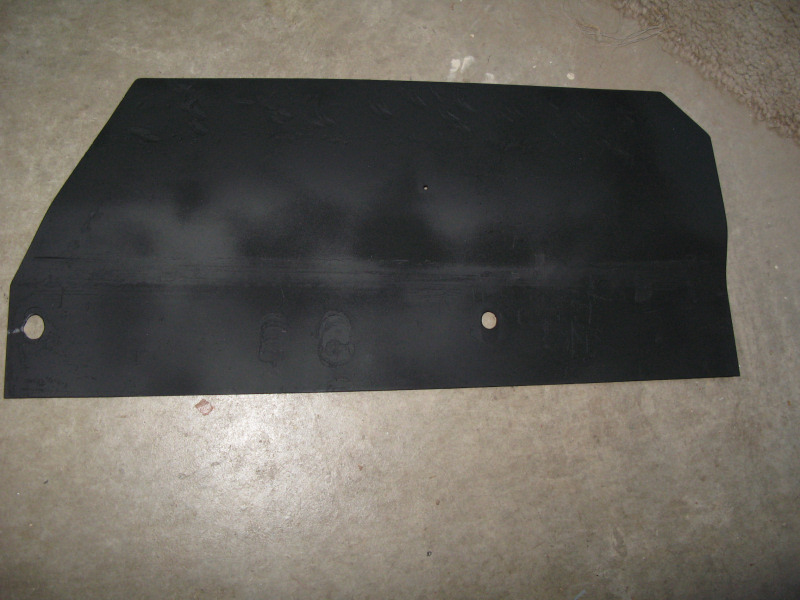
I purchased a piece of 16 gauge 18"x8" metal, cut the corners made some bends and painted it:
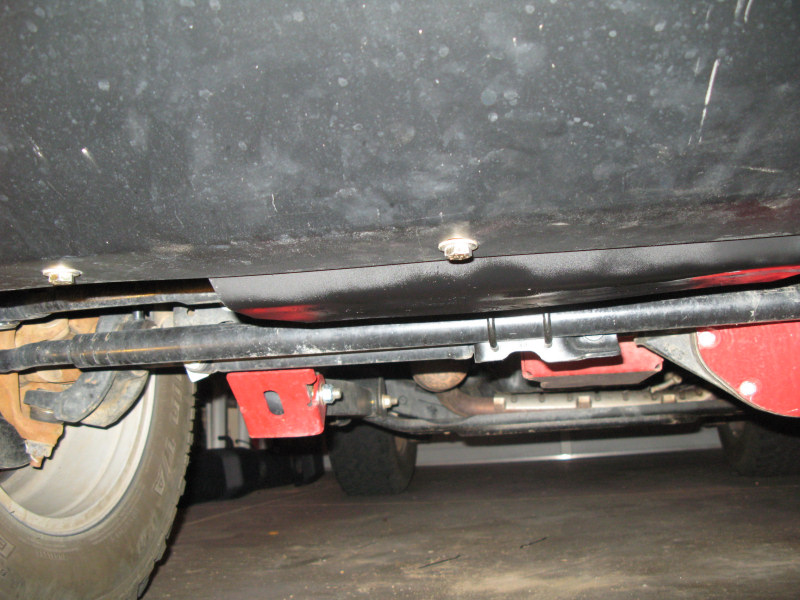
Mounted and view from the front:
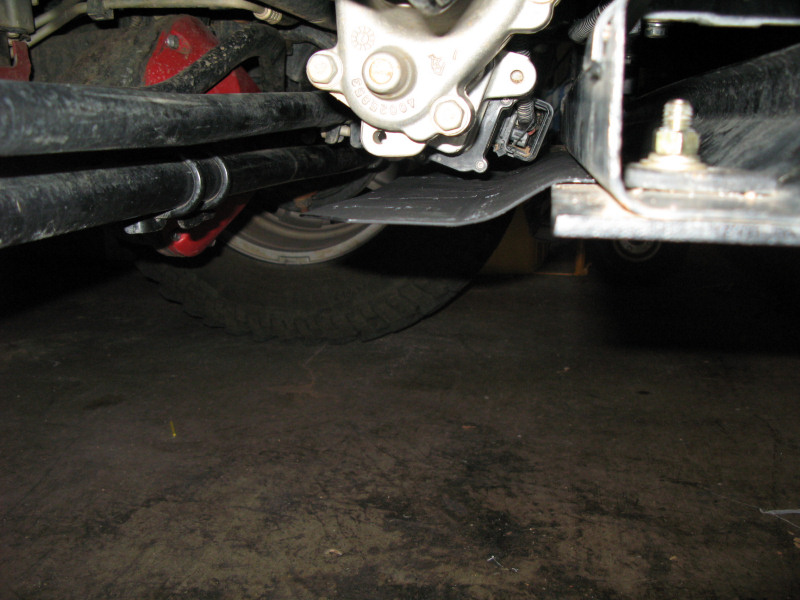
Side view:
If you have any questions or comments about this page click here to send email.Last modified: December 21, 2009 06:43:56 PM |